Last week I posted the first instalment of what was deemed an adventurous project to recover my sofa. Me, the ever optimist went in guns blazing. This project was the push I needed to finally get my second hand sofa recovered and I was absolutely going to get it done in time for this post. Nothing was stopping me. Yes, I was on it. Well that is until life happened. Actually one little furry life happened. But more on that later.
If you missed the first part of this post last week it covered choosing your fabrics, measuring the amount you need and beginning to create your pattern pieces. A couple of extra things to note that I’ve discovered during the process:
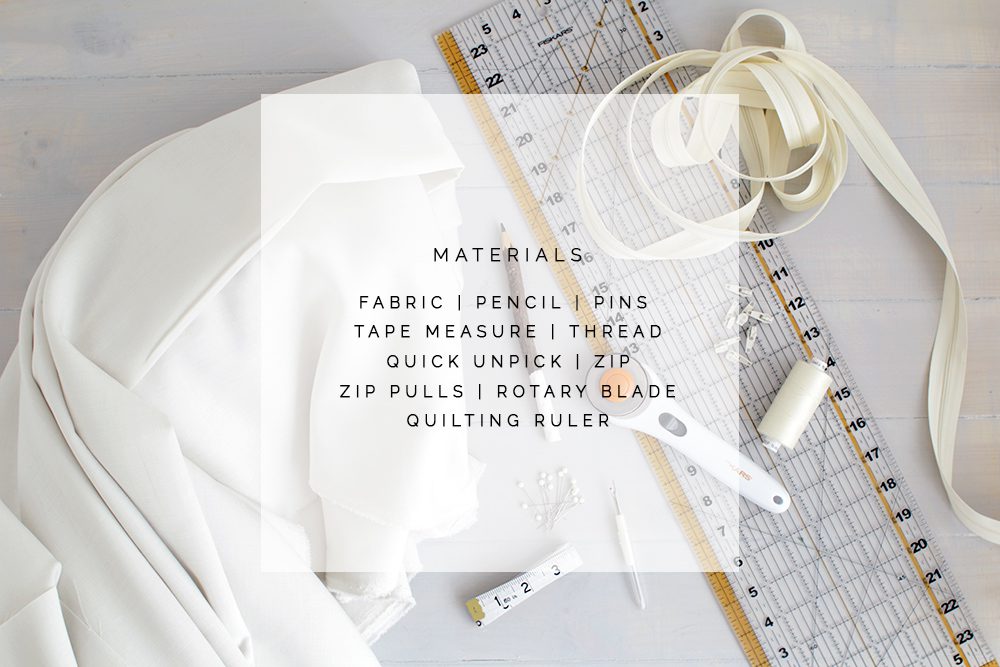
1. Definitely choose a plain fabric. If you do go for a pattern be sure it looks the same whichever way the fabric faces (for example tartan) or if you absolutely have your heart set on a patterned fabric, buy more! You’ll need it. Also, if your fabric is the same or very similar on both sides it can make life much easier and you won’t have to reach for the quick unpick quite as much.
2. On that note invest (about £1 or much less!) in a quick unpick. You are going to make mistakes (trust me I made a few) so accept it as part of the process. I used the time unpicking my mistakes to listen to podcasts and actually found myself enjoying these moments as a break from sewing.
3. Fabric with a little stretch can cover a multitude of sins (mistakes) so bear that in mind when you’re choosing your material. Hopefully these factors will make it easier, but if you already have your fabric don’t worry, we’re going to get through this together. It’s going to be alright.
I’ve also done something a little different for this project. I’ve illustrated the steps which I hope will make the process easier to understand. Taking photos of my white on white fabric pinned and stitched in awkward positions was, one; difficult in itself to do and two; much more difficult to understand. This way it’s much clearer and as always if you have any questions about a step or process just let me know and I’ll do my best to explain further.
Before we get stuck in I want to thank Hive for making this post possible. Their new videos about the great feeling you get coming home have inspired me to finally complete this project and as I write this from Lyon I’m looking forward to getting home after a few days travelling and resting my tired legs (50,000 steps and counting. Thanks fitbit) on my newly covered sofa! This latest video is making me want to do it over and over again!
We’re starting with the cushions. They’re easy to make up and a great way to see real progress quickly. You don’t even need to make up a pattern piece for them. I measured and made a note of the sizes for each size and cut the fabric using a rotary cutter and cutting mat. But if you’re using fabric scissors making a quick paper pattern and pinning it to the fabric will make cutting much easier. Remember to add a seam allowance and then stick to it. To make a really successful cover the measurements are key.
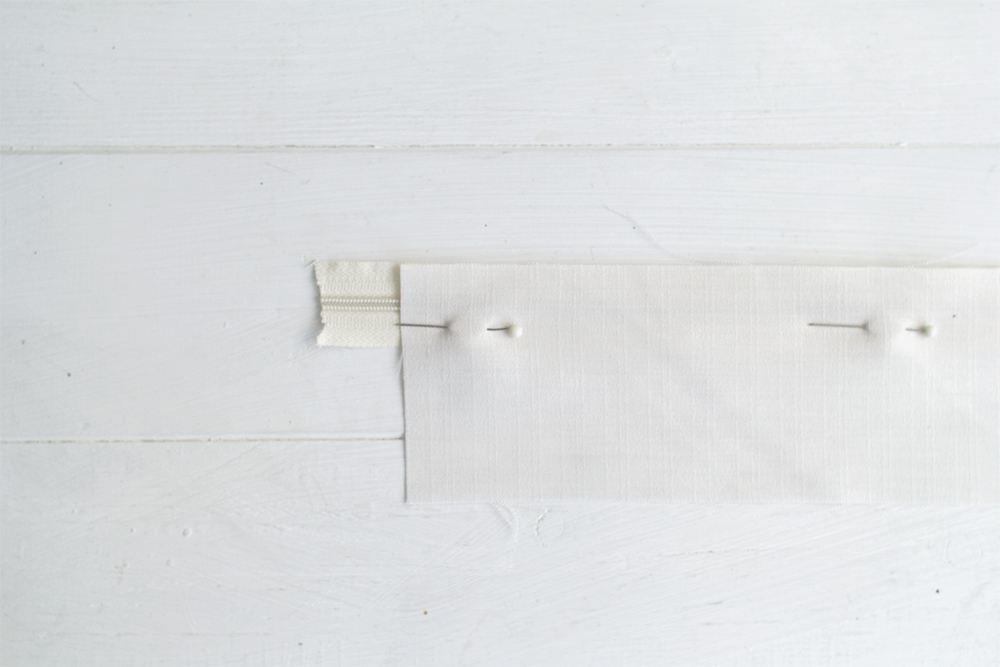
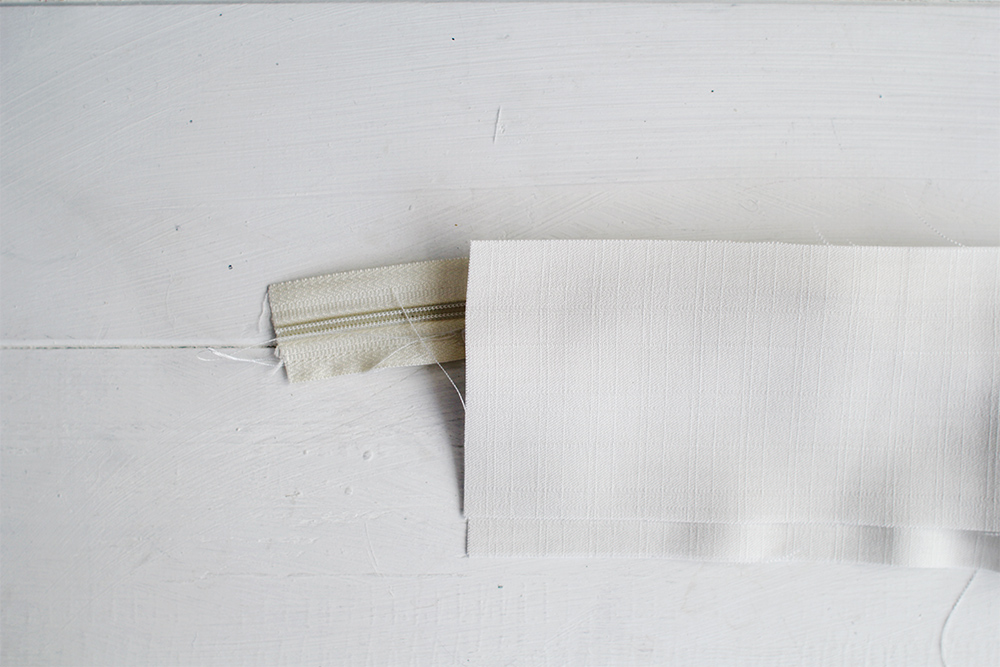
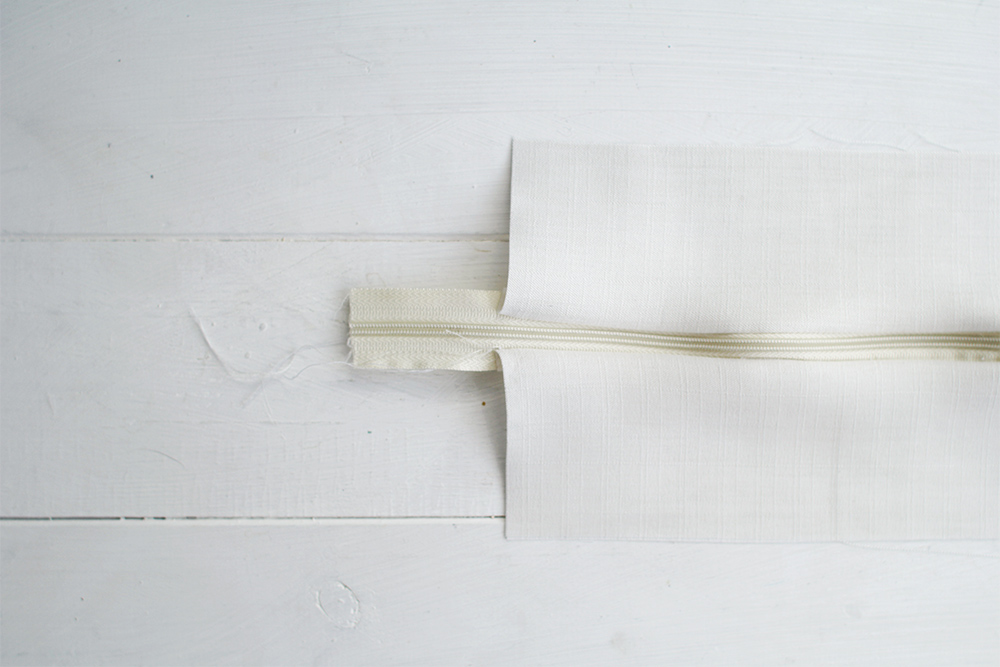
Once you have cut out the pattern pieces take side piece the back or bottom of the cushion (where ever it will be hidden) and cut in half lengthways. Cut (or buy) a length of zipper a few inches longer than this piece and pin one half of the fabric, face down, over the whole of the zip. Sew down the edge of the fabric as close to the metal part of the zip as possible. Now fold the fabric back on itself, and do the same again with the other half of the fabric on the other side of the zip.
This will give you a basic zip for your cushion adding a little bit of professional quality and making it easy to get to cushion in and out of the cover. A necessity for spills! If you’ve used zip lengths add on the zipper pulls now.
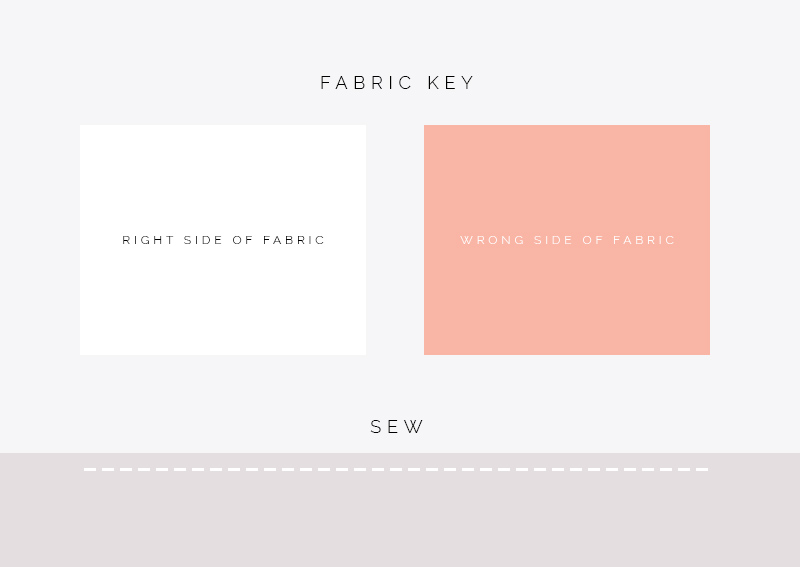
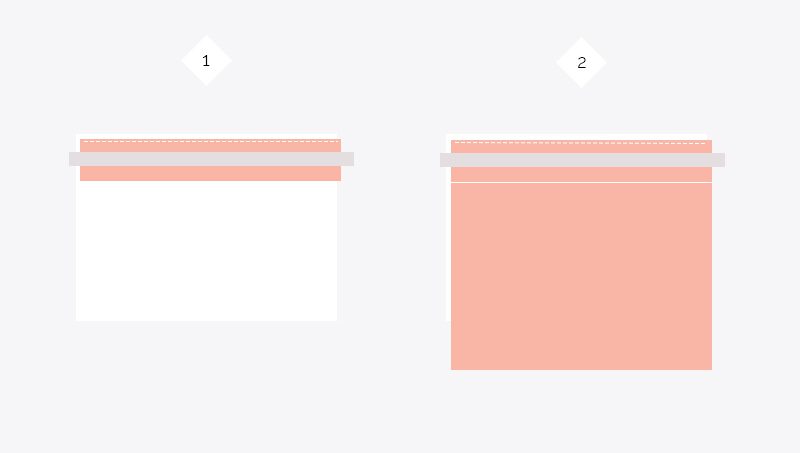
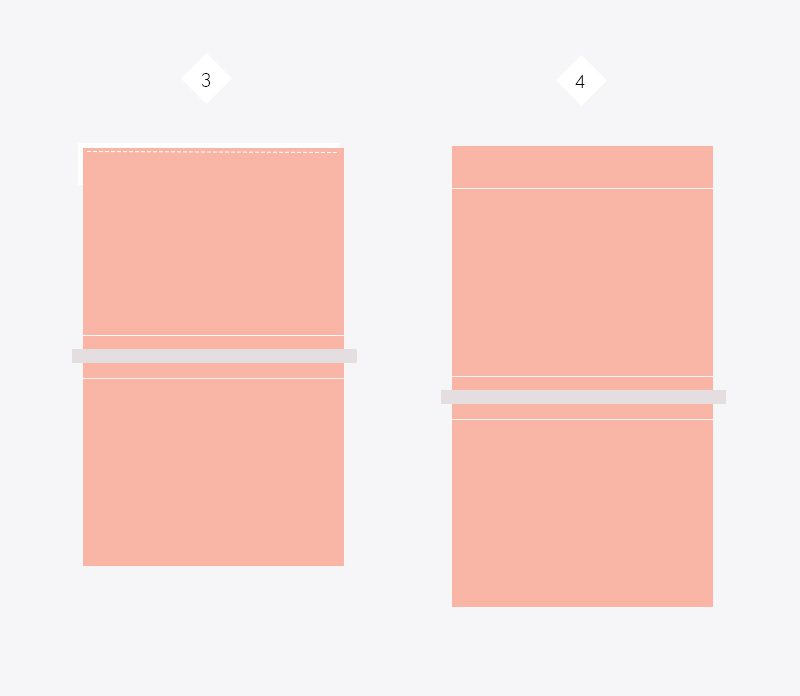
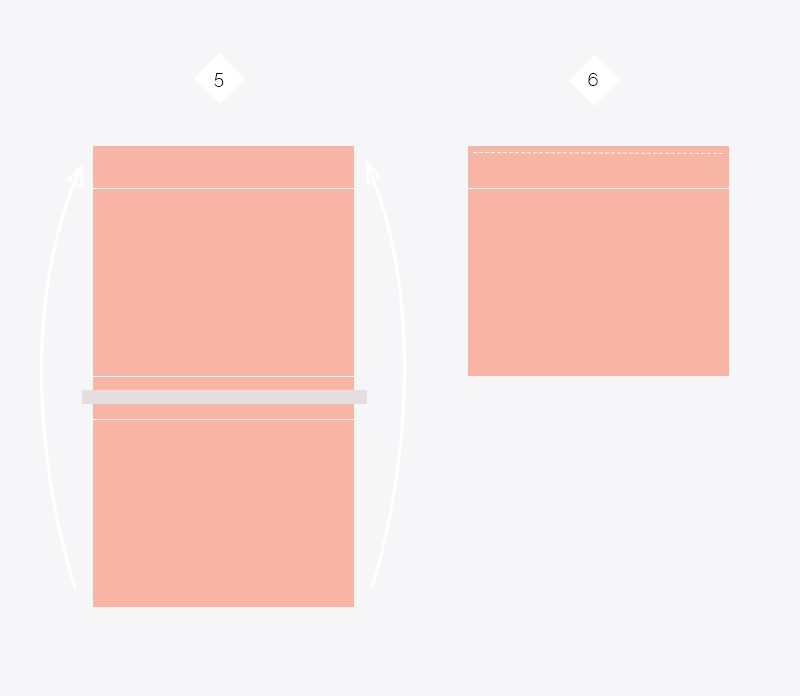
Now we can get constructing the cushion cover! This is where our illustrations come in. To make it easier I’ve used different colours for the right and wrong sides of the fabric and a perforated line for our stitch lines. Check out the key below.
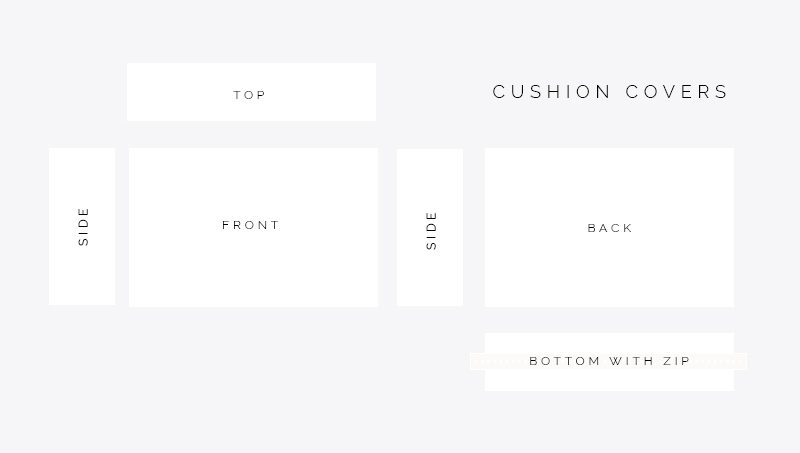
Right, now you have all the pieces cut out you should have something that looks similar to the pieces shown here.
1. Sew the ‘bottom with zip’ to the ‘back’ piece right sides facing along the longest side.
2. Lay these two fabric pieces flat and stitch the unsewn side of the ‘bottom with zip’ to the ‘front’ piece, right sides facing each other again.
3. Sew the other long side of the ‘front’ piece to the ‘top’ right sides facing.
4. You should now have four pieces of the cushion sewn together all of the wrong sides on one side. Press open the seams to keep them neat.
5. Now fold the whole piece in half so that the right sides of the fabric are facing each other and the unsewn ‘back’ edge lines up with the unsewn ‘top’ edge.
6. Sew along this length.
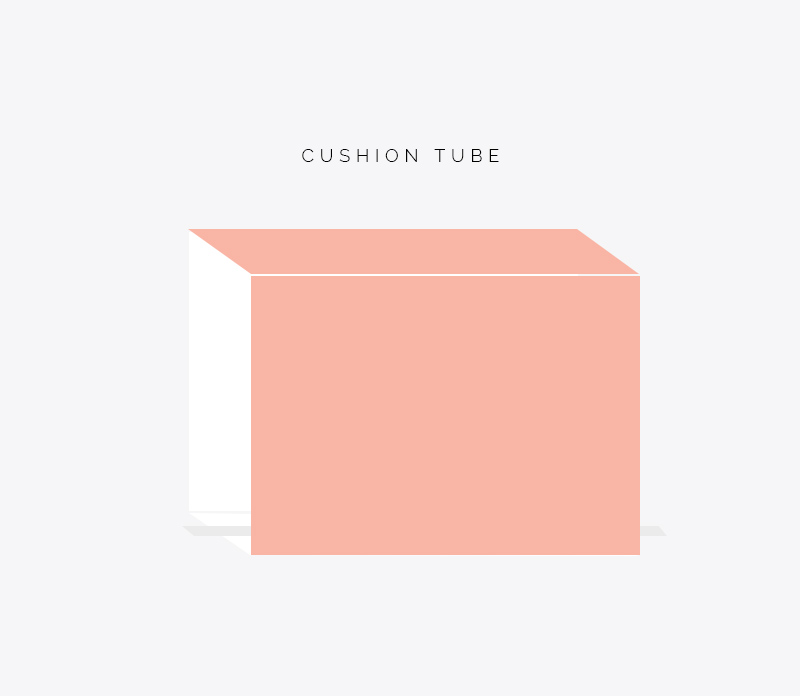
You should now have what I like to call a cushion tube. It will be inside out but that’s good. We want to keep it that way.
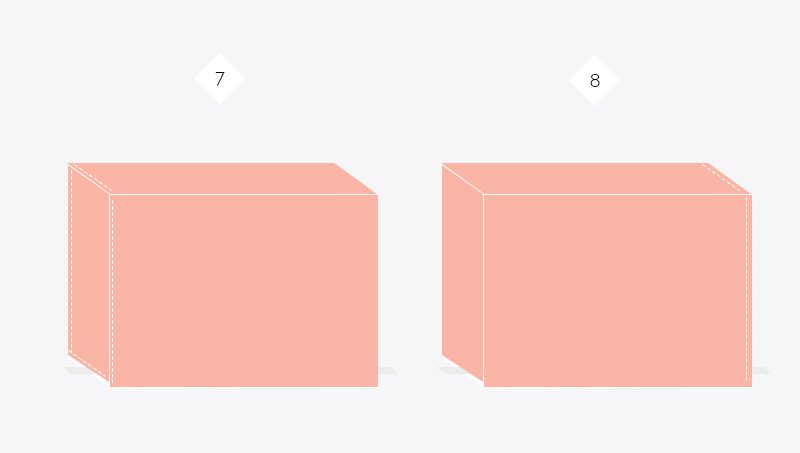
7. Take one of your side pieces and insert it into the cushion tube. You want to sew it to the rest of the cushion with the right sides facing again. Sew it so that the seams are visible on the outside of the cushion tube with the rest of the seams. Sew around all four sides.
8. Do this at both ends making sure the zipper pull is in half open in the middle of the zip.
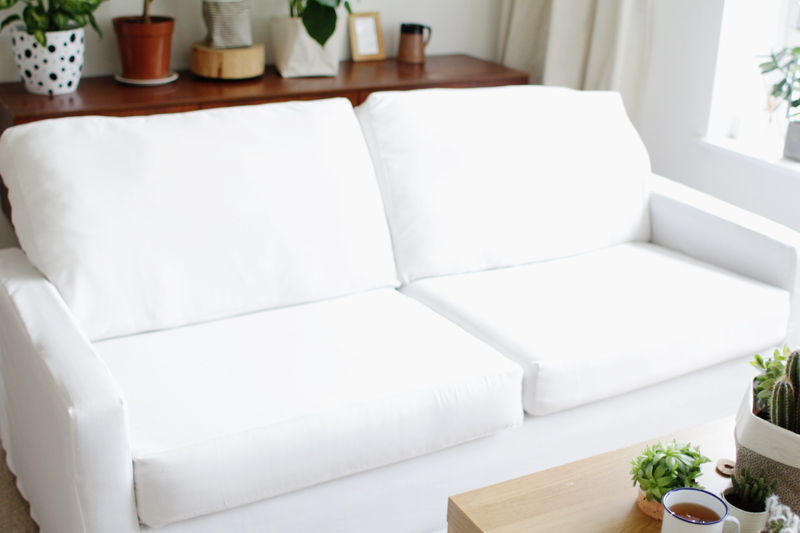
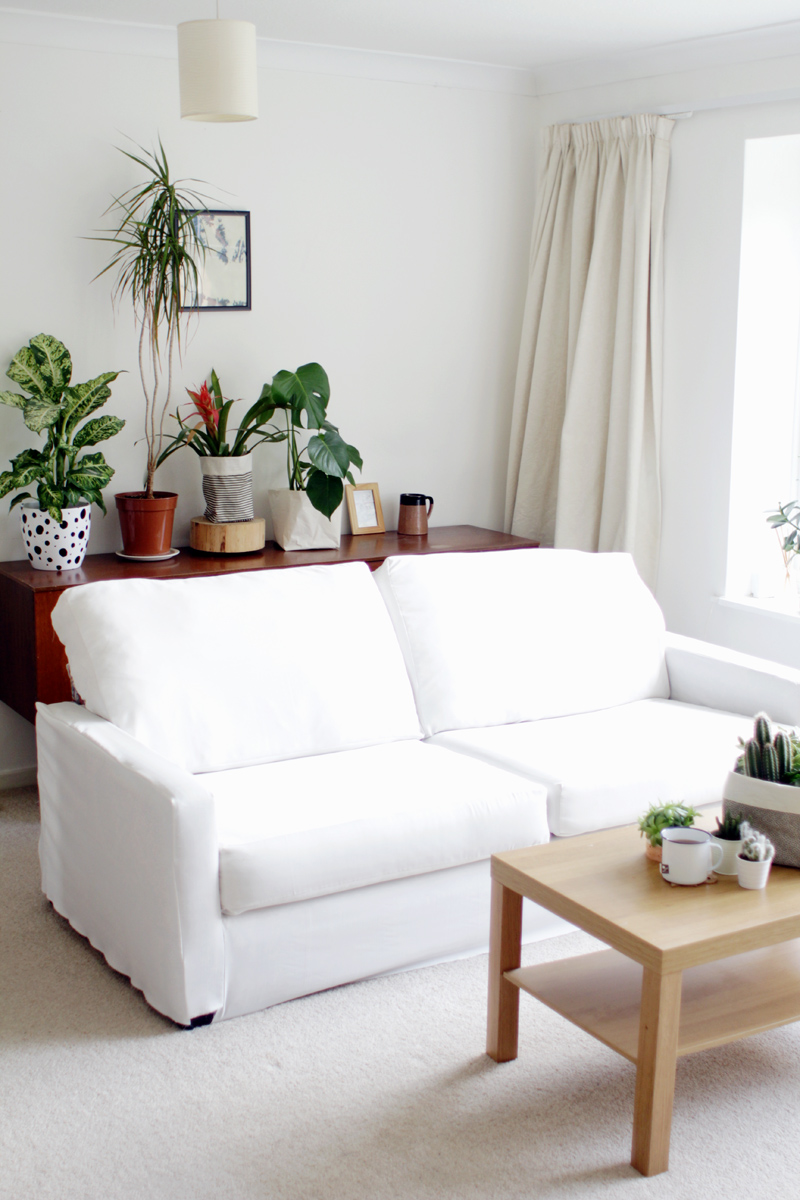
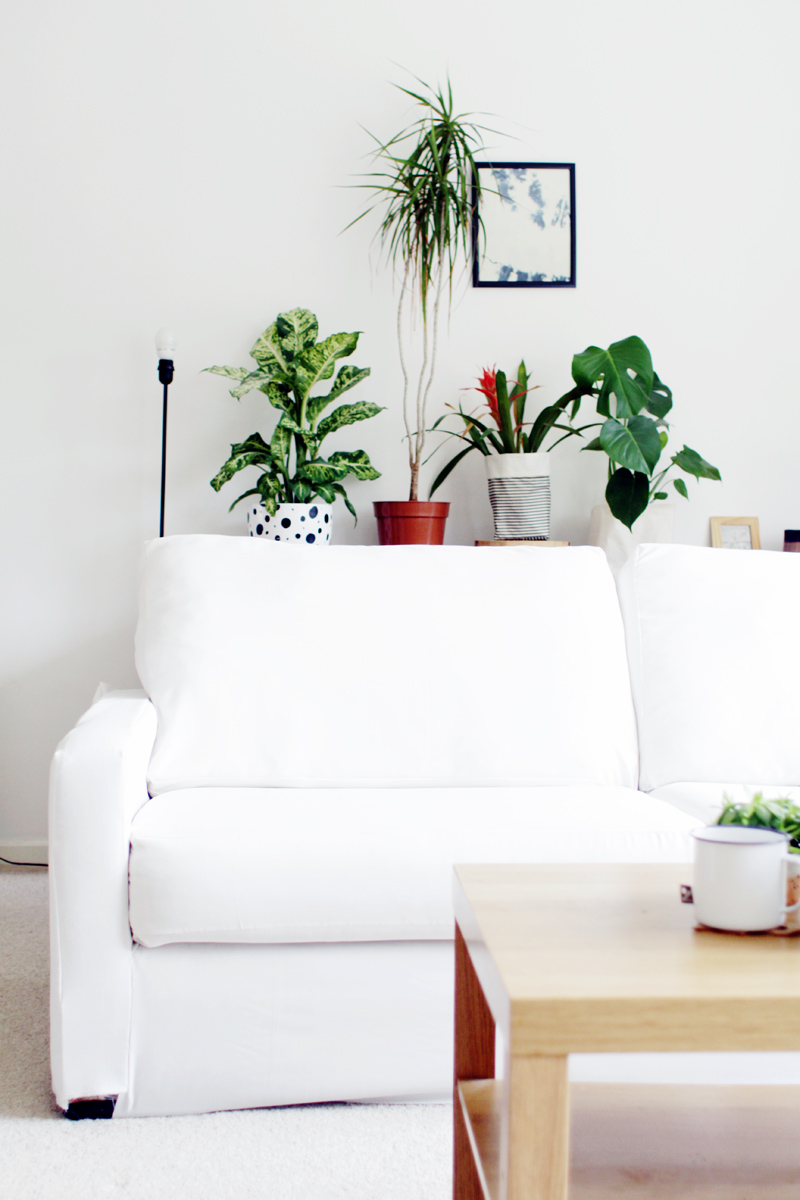
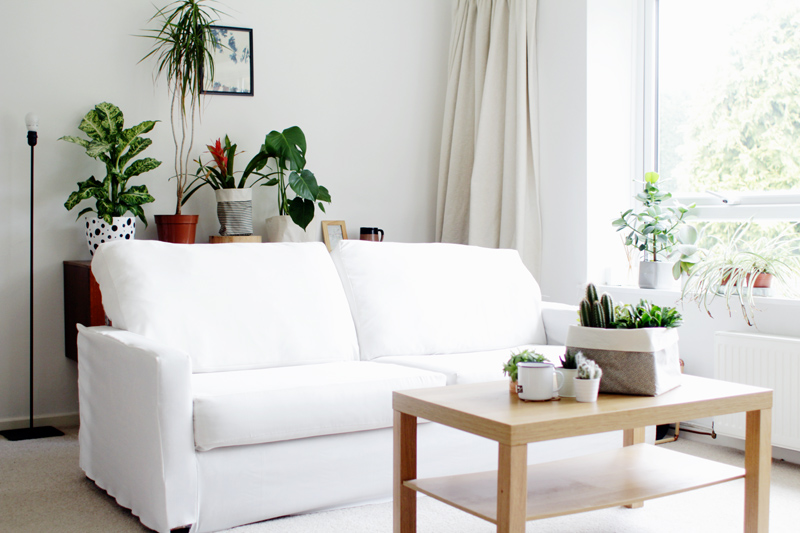
Follow these steps until you have all four cushions covers. How great does that look now!? Just being able to see the whole thing coming together motivates me to start on the next section… The main sofa pieces! This is where it becomes harder for me to give clear instructions. Each couch will differ depending on its shape and size. Our sofa is nice and square which makes it much easier to cut and sew the pieces. You will most likely have to adapt these instructions to fit with your sofa but that is easy with just a little bit of planning.
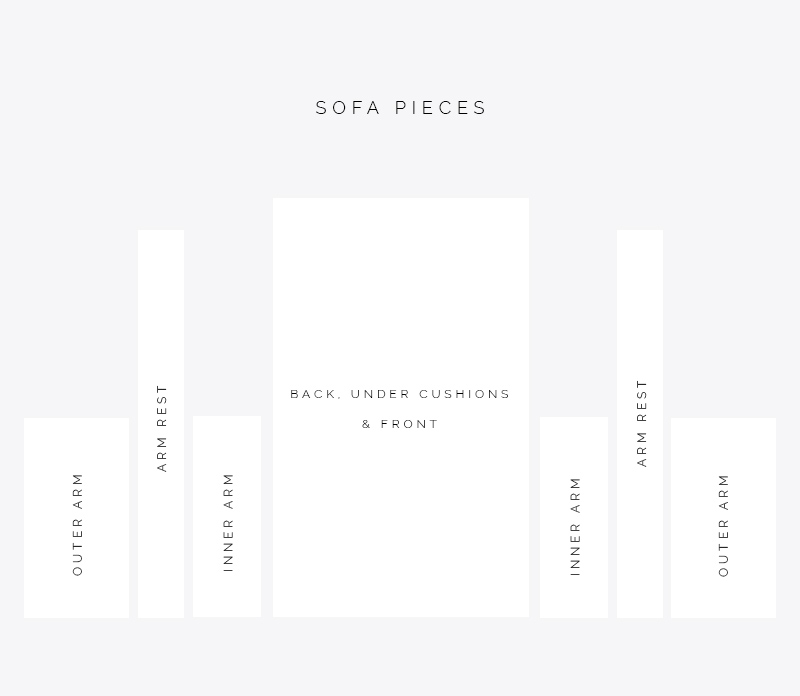
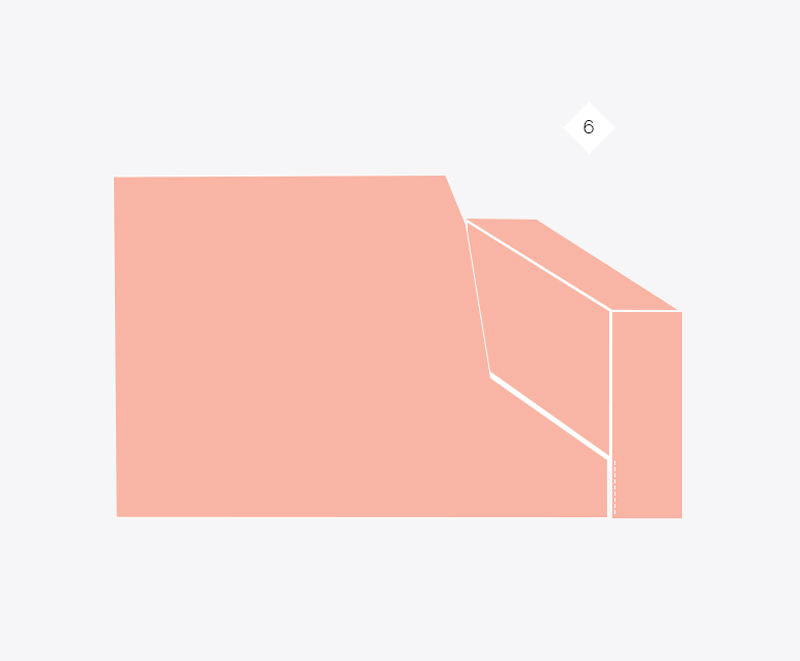
This is what my sofa pattern pieces looked like:
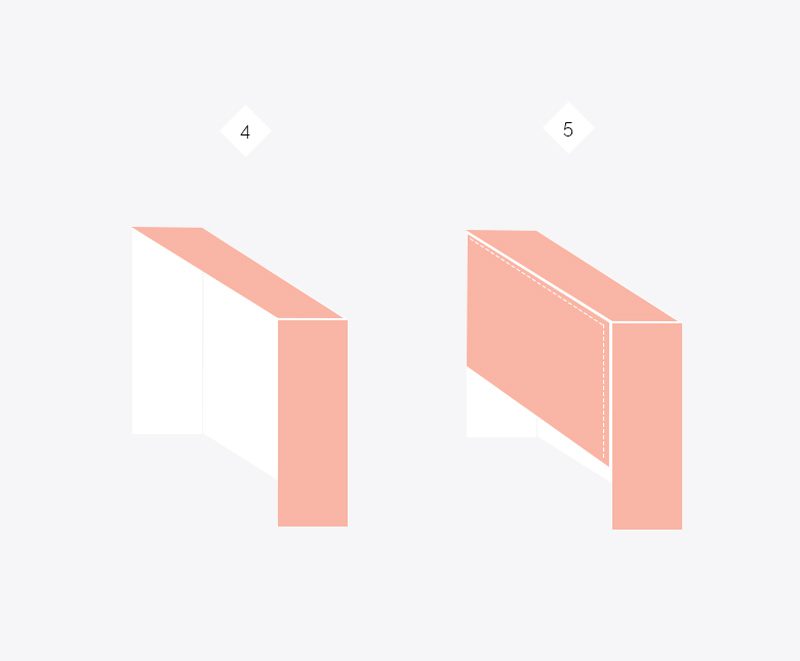
1. Lay the ‘arm rest’ piece over one of the shorter edges of the ‘outer arm’ pieces, right sides facing and sew together.
2. Fold the ‘arm rest’ piece along the long side of the ‘outer arm’. Create a square edge by pulling the excess fabric from the corner away so that it lines up with the shorter side we have just sewn along. Now sew along the longer edge.
3. Repeat these steps folding the ‘arm rest’ piece along the remaining short side, once again pulling the excess corner fabric out of the way to create a square corner. Sew along this side.
4. Turn the fabric right side around and check the fit on the arm on your couch.
5. If you’re happy (and don’t have to find that quick unpick) turn it back inside out and sew the ‘inner arm’ piece to the ‘arm rest’ using a similar technique to sewing the sides on the cushion tubes. Sew right sides together from the back corner along to the bottom front corner.
Repeat these steps for the other arm making sure to reverse it by sewing steps 1 – 3 on the opposite side of the arm rest fabric strip. A little tip here is to keep checking the work against the sofa after each step. I was sewing up two of the same arm for a while before I noticed and had to unpick my work (again!!)
It was at this point when checking my sewing that the rabbit tactfully chewed through my sewing machine pedal foot. The one time I hadn’t moved it out of harms way before I did! (Well, it only takes one time…) Luckily my local sewing machine shop is located just 10 minutes away. Unfortunately they are closed on Wednesdays and reopen at 9.30 Thursday morning. The exact time I was boarding a plane for Lyon. Where I am now, writing this.
So sadly this is where we (almost) reach the end of tutorial. I draped the ‘back, under cushion and front’ piece of fabric into place over the sofa and marked where it should meet the arm pieces. After hand stitching the front together I started thinking it might be better to carry on the series for a third post on fitting and finishing when I have mechanical abilities again! Hand stitching is hard work!
At this point of the project I was starting to think yes, perhaps this was an adventurous project! I know some of you might be looking at this post and thinking this is way beyond your capabilities. I’m not going to lie, it takes some work, but with a little time and patience it is possible for even someone new to sewing. If you still can’t bring yourself to give it a go remember that Hive are running this amazing competition to win a coming home experience worth £1500! You can buy yourself a brand new sofa with that! To stand a chance of winning, comment on Hive’s competition post on Facebook and tell Hive why someone you know deserves to win an unforgettable coming home moment. Hive will choose one winner at the end of the competition which runs until 6th April.
Whew! That was long… I think we’ll take a break from big projects for a few weeks and get making some lovely, easy DIYs to ease back into work after holiday! See you then.







Love this! Will be so helpful in the future. I just posted a DIY post on my blog and would love to get your feedback on it :) Have a great Easter and eat lots of chocolate..
This is awesome. I tried to make a cushion cover for our window seat and completely messed it up so this really helps. I did not have the time and material to try to fix the mistakes unfortunately. Self Employed makes it hard to feel like I have time to do much other than work. Need to work on delegating things. thanks for aLLTHIS.