Making your own jump rings is not only a great way to save money, but in your DIY hour of need they can also save the day! I always keep a roll of wire handy to make any last minute findings.
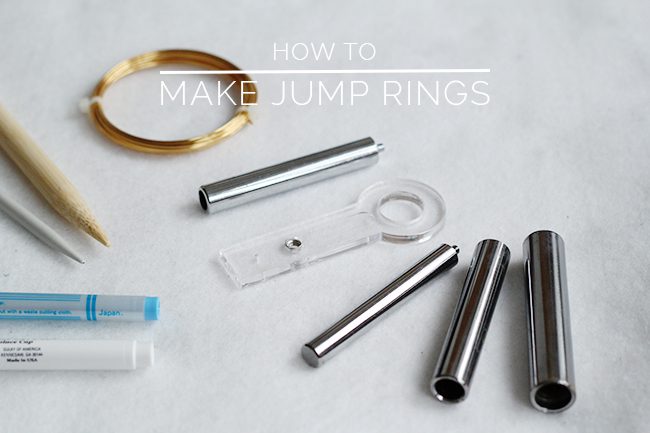
TOOLS
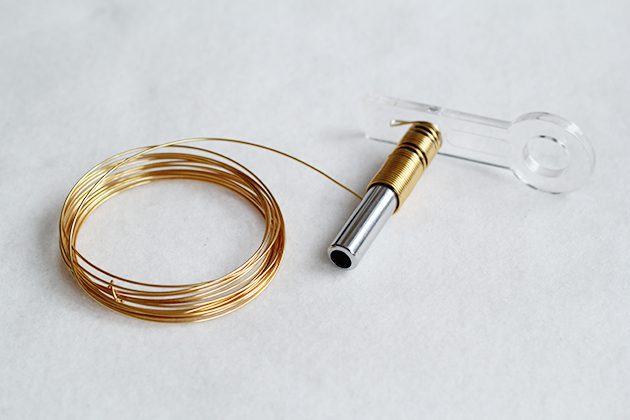
You can use any cylindrical object to make jump rings as long as it is the same size all the way down (if you want your jump rings to be the same size!) such as a pen or knitting needle. Knitting needles are ace for making specific sized jump rings because they are labelled by size. Easy. I’ve used my jump ring maker. It makes the job a little easier because there’s a hole to thread your wire into to hold it in place. This leaves you with two hands free to hold the wire and turn the handle.
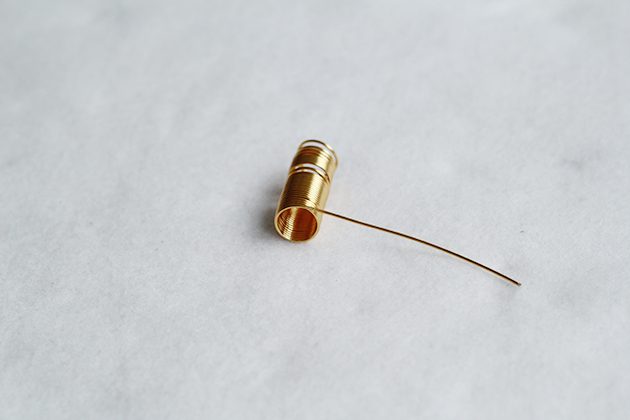
Basically you just need to make a wire coil keeping the loops as close together as possible.
WIRE SIZING/GAUGE
I like to use a range of wire sizes depending on how big I am making the rings. If you only want to buy one size wire 1mm/No. 18 AWG is a good all rounder, but once you get bigger than 9mm Jump ring you’ll really want to start increasing the size of the wire. I’ll often use 1.25mm/No. 16 AWG for larger projects to create a sturdier ring.
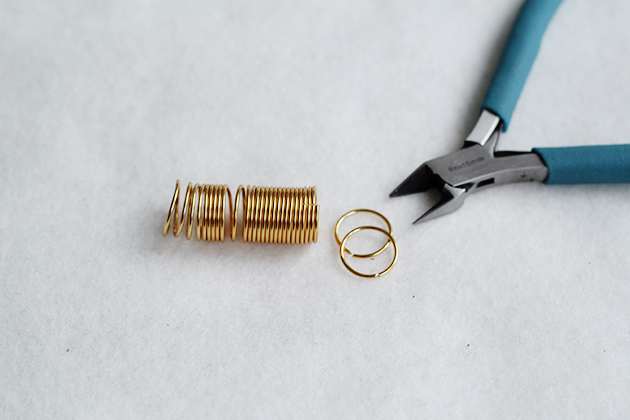
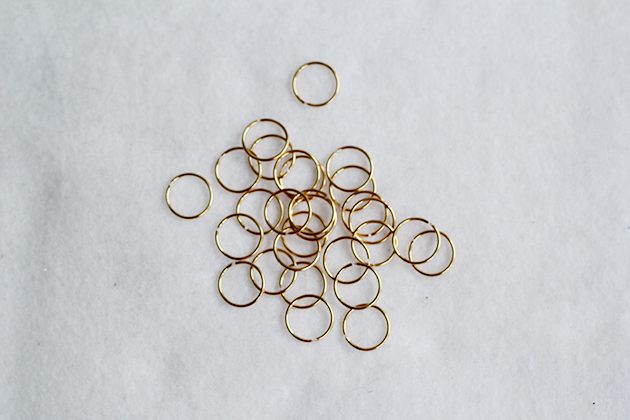
CUTTING THE LOOPS
Now, ideally here we’d use a side cutter with a finer tip than these shown above, but regular cutters will work just as well, as long as they are well maintained! (No using them to cut memory wire) Cut the loops one at a time working along the coil to make rings.
KEEP IN SHAPE
That’s it. To make your jump rings harder and less mailable tap it with a hammer gently a couple of times without flattening or changing the shape of the ring.
I’ve been making lots of jump rings this week for a really easy chainmail bracelet project I’ll be posting in a few days. Follow the links (get it!) below to make sure you don’t miss it!


This is really easy and saving money c:
thanks for the tip! Xx
what a great tip! definitely something i need to try
lauren
xxx
Would love to see your latest tutorials and diy projects. This would help for Christmas ideas!
i got a jump ring trapped in my asshole