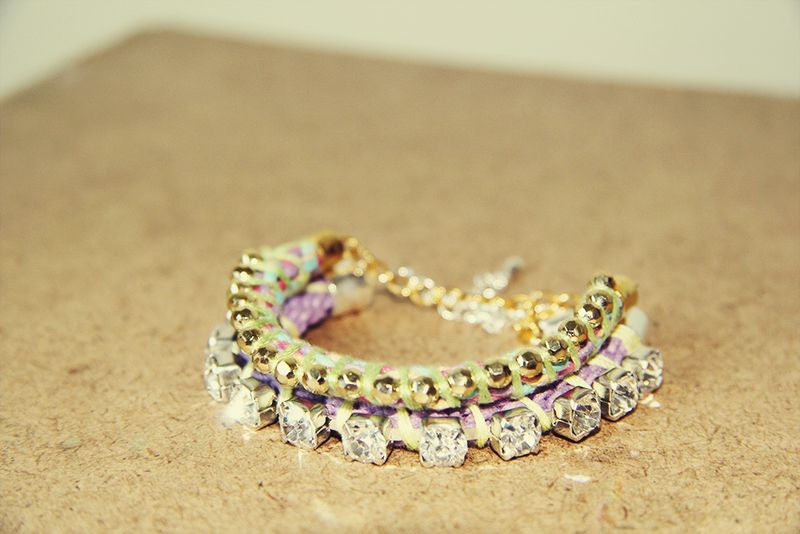
I’m always looking for excuses to make Kumihimo braids. The soothing repetition and super fast results are a winning combo, but there are only so many colourways you can make/wear/pull off right? So I wanted to try something a little different with my latest ones. Lets add a little sparkle eh?
For an in depth tutorial into using a Kumihimo board and making the braid used in this DIY see this tutorial.
Instructions:
1. Tie one end of your embroidery thread around one end of your kumihimo braid and glue that end into a bell closer/cord end.
2. Position a diamante strip/ball chain/string of beads onto the outside, and begin to wrap the embroidery cord around both the kumihimo braid and the decorative strip securing them together.
3. Continue to wrap until you reach the end of the braid. Wrap the embroidery thread around the end several times and knot in place. Cut off any excess.
4. Glue the other end into another bell closer/cord end. If you’re new to jewellery making you can buy these with the clasps already attached or you can make your own extension chains using this tutorial. Makes life easy!


Great bling it up idea for kumihimo fans! Pearl
That’s really cute I never did one braid yet hahaha so this is going to be my first project ever all the stuff you make is adorable I just thought I would let you know