
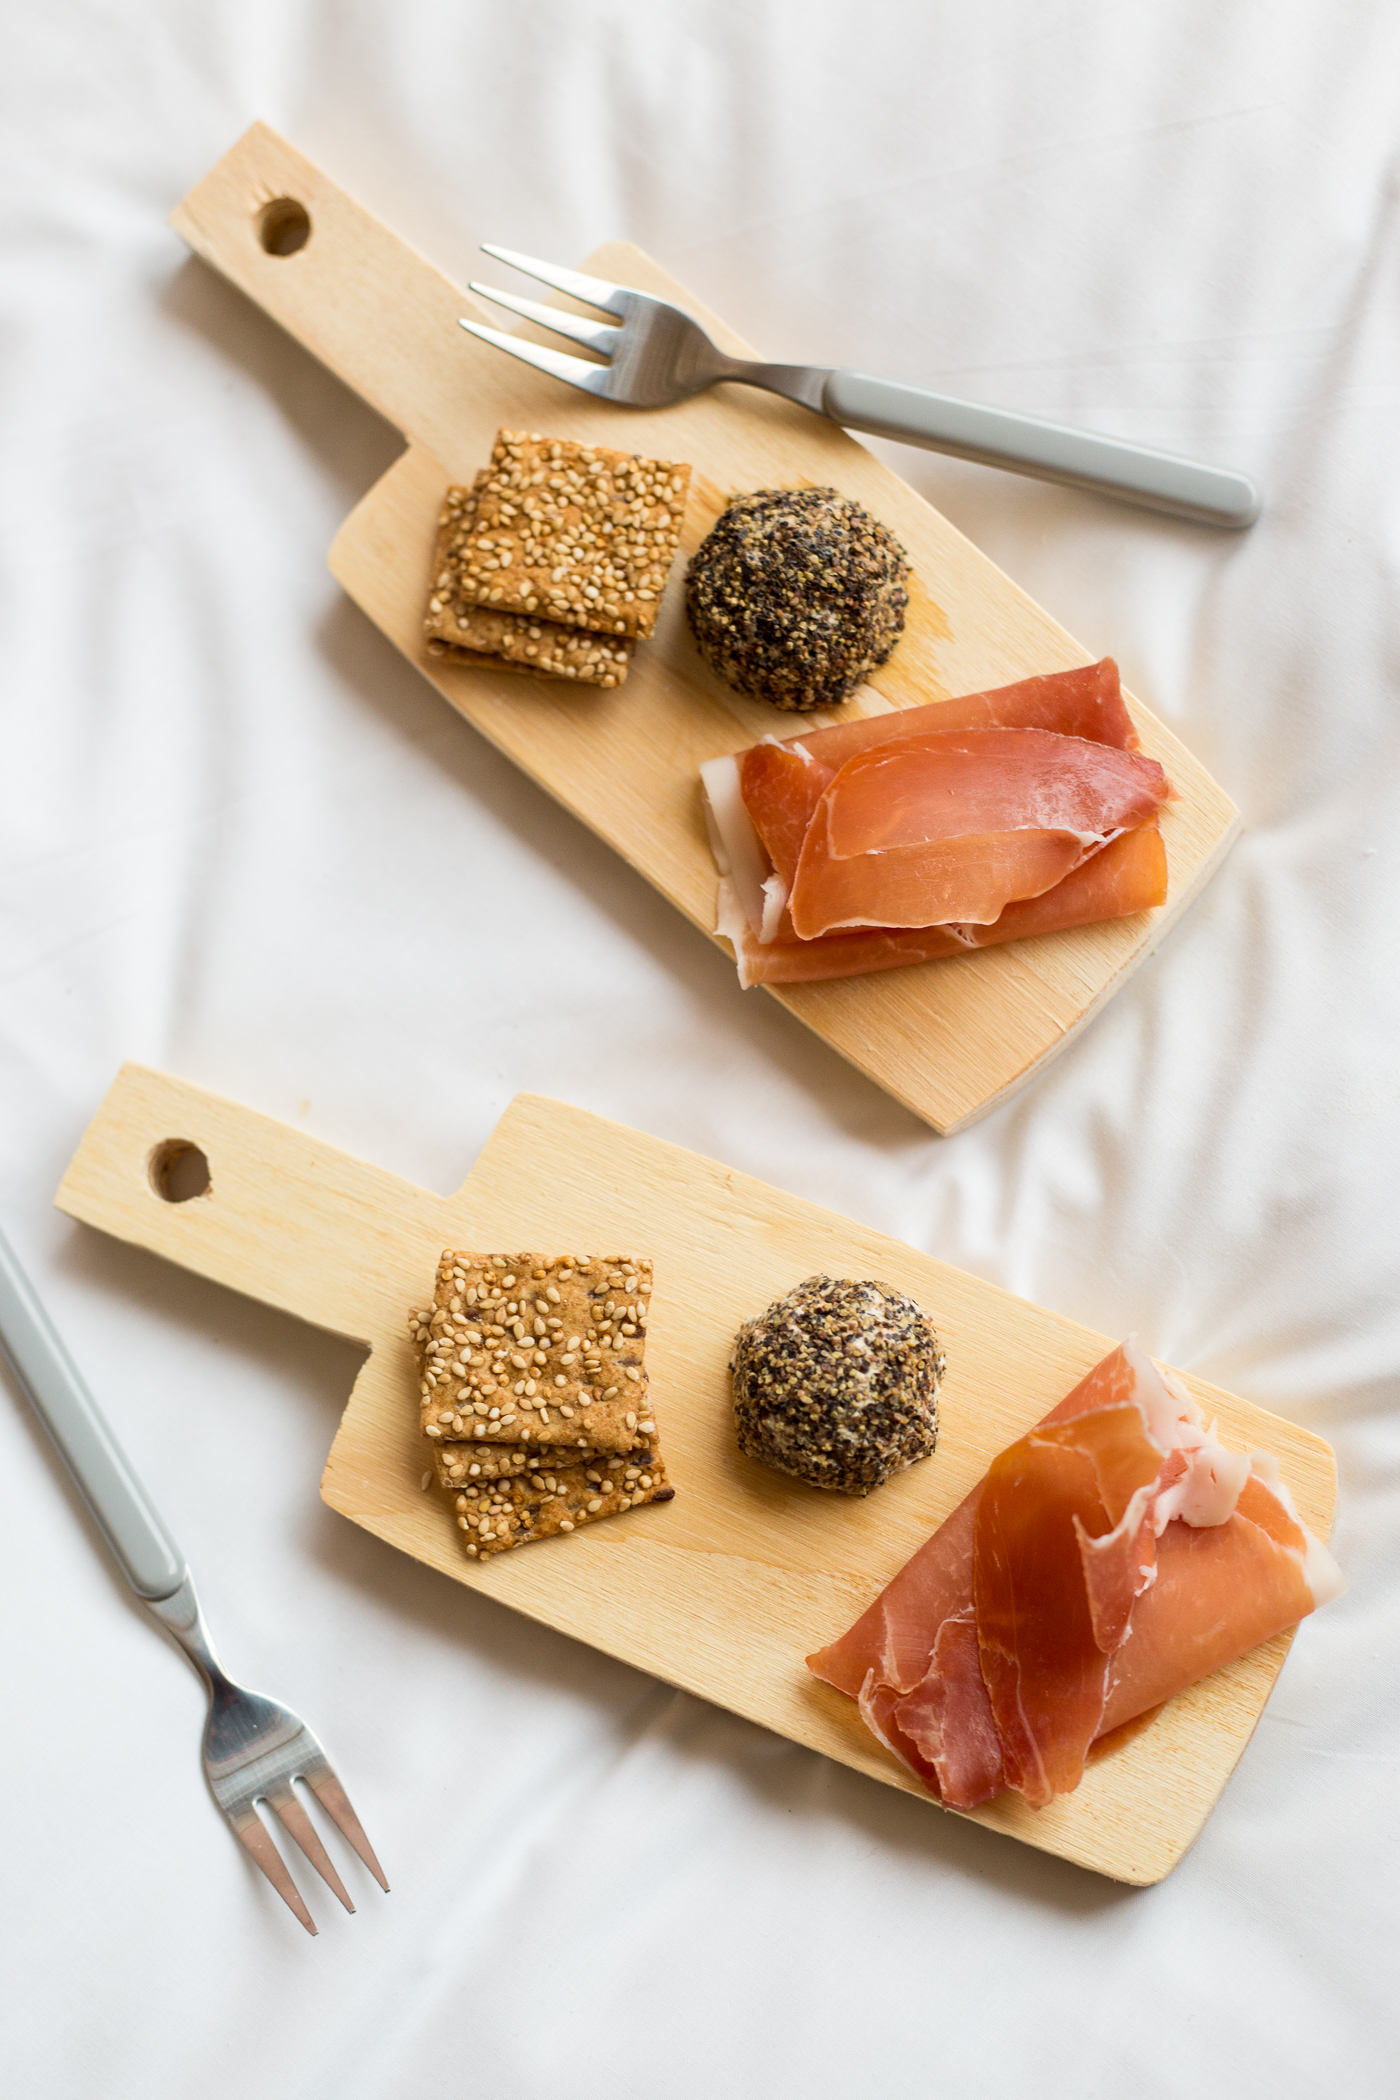
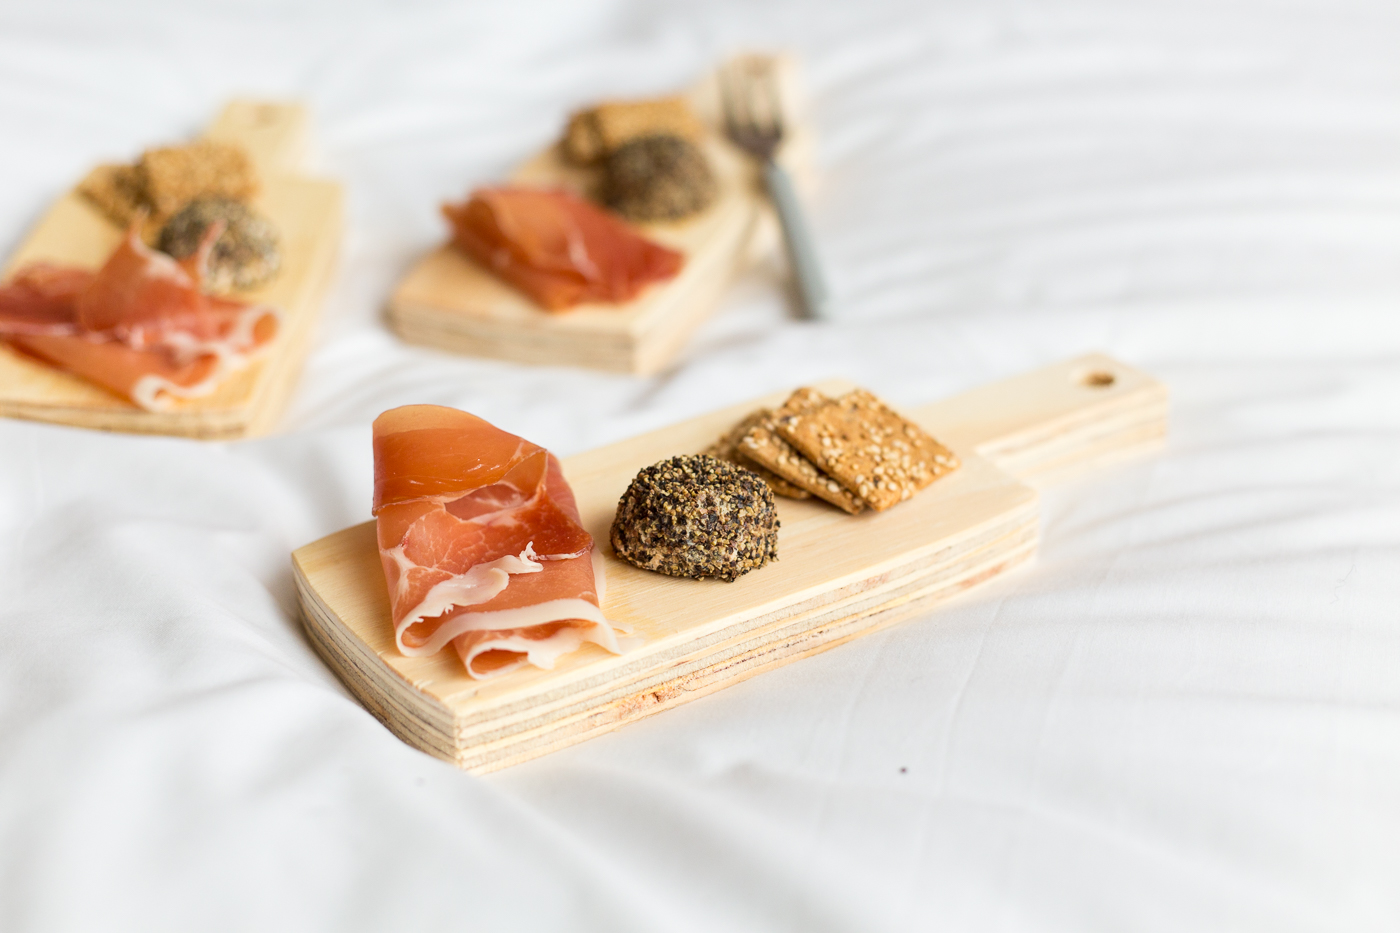
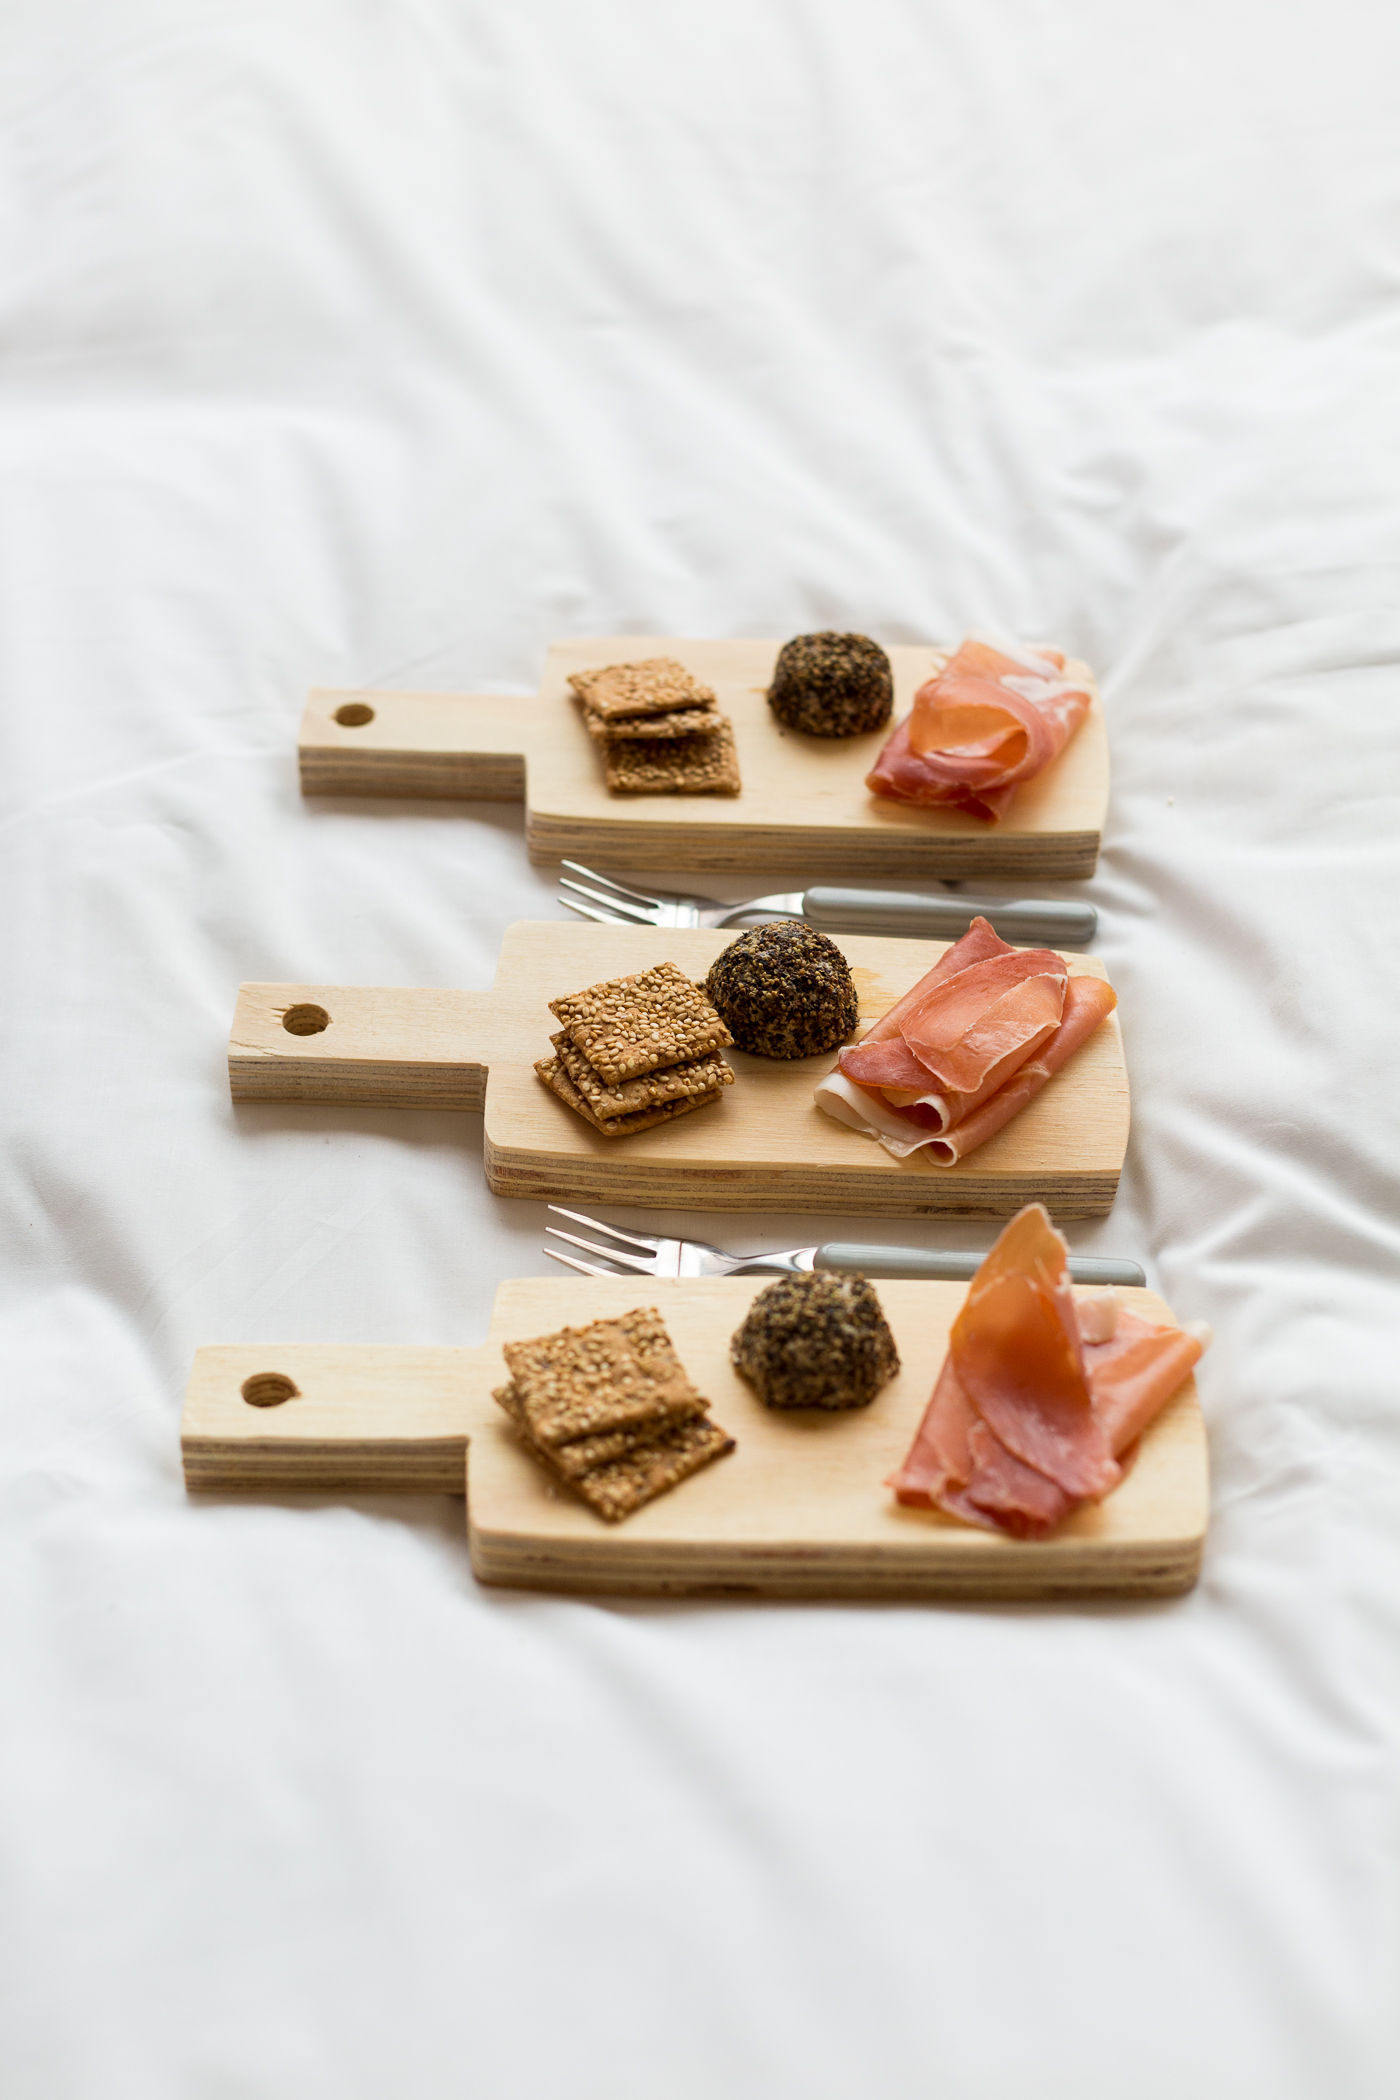
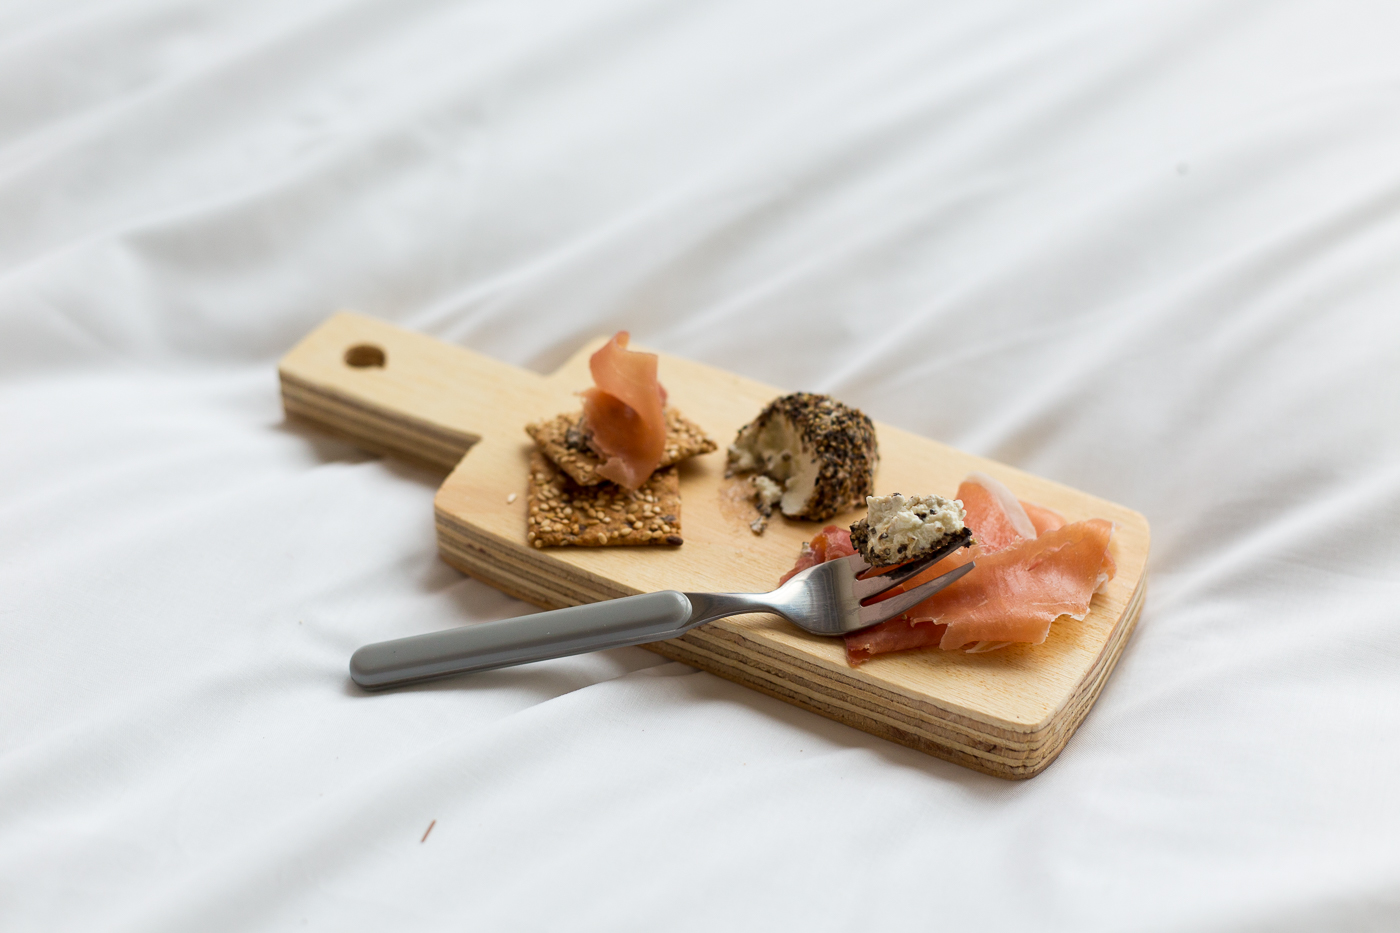
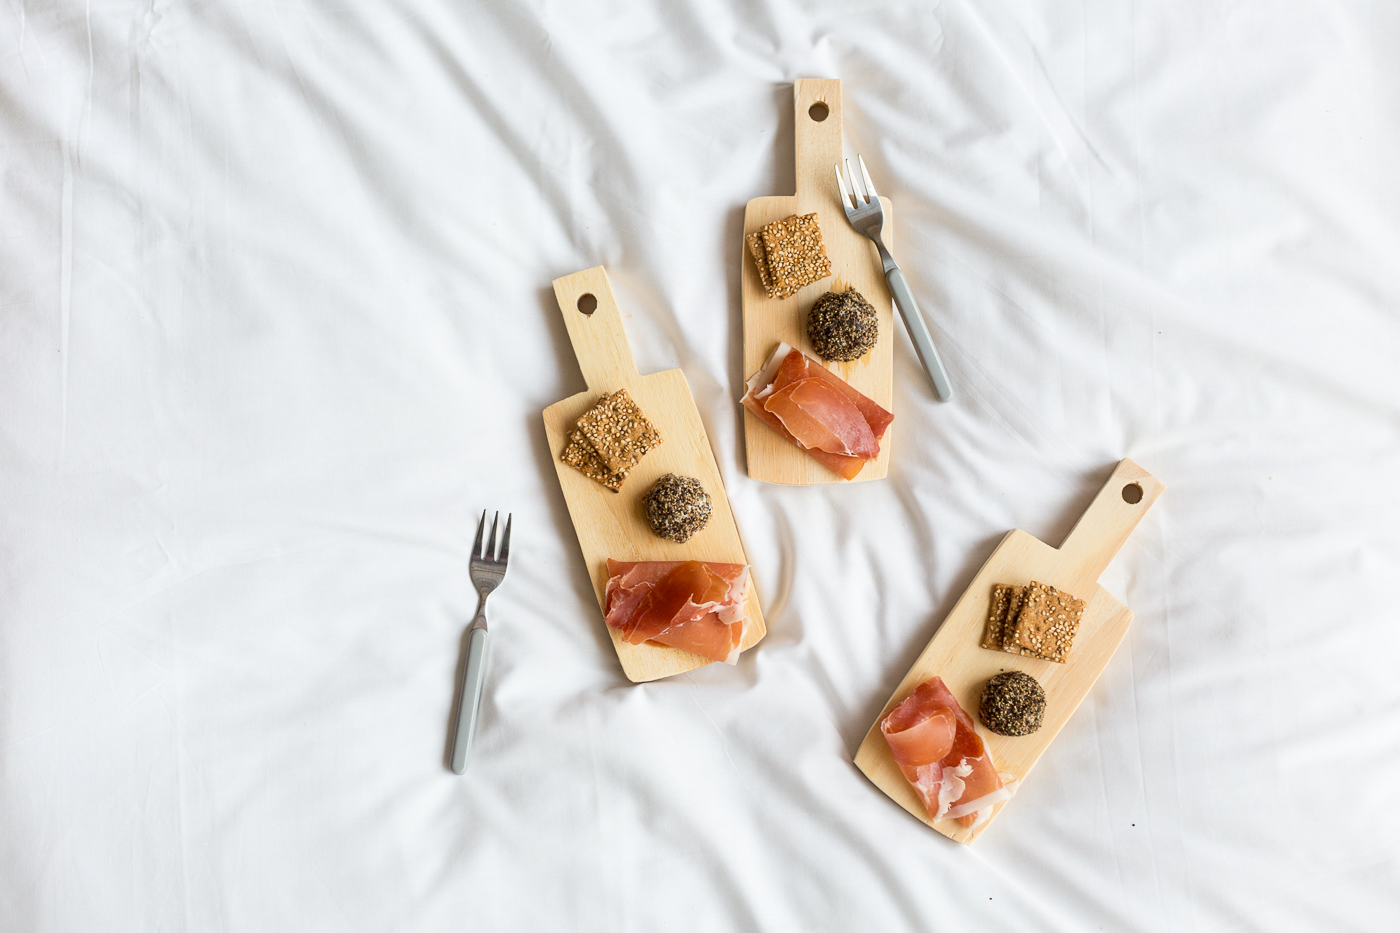
The cheeseboard is a hotly anticipated event in our house. It’s literally been planned for months. We get in a pretty special range of vegan “meat” charcuterie and cheeses and then an even more impressive selection of mini real cheeses. As the non-vegan of the household I have my pick of which cheese we get. (I am going to be the only person eating it… the one perk of living with a vegan) The only problem is as soon as we get to the deli I am overwhelmed with the choice! The cheese struggle is real you guys. Anyway, whether you like your cheddar dairy free or full-fat everything is always a little cuter in smaller sizes. My mini cheeses are so sweet and I get a bit of everything! Who’s laughing now cheese counter?
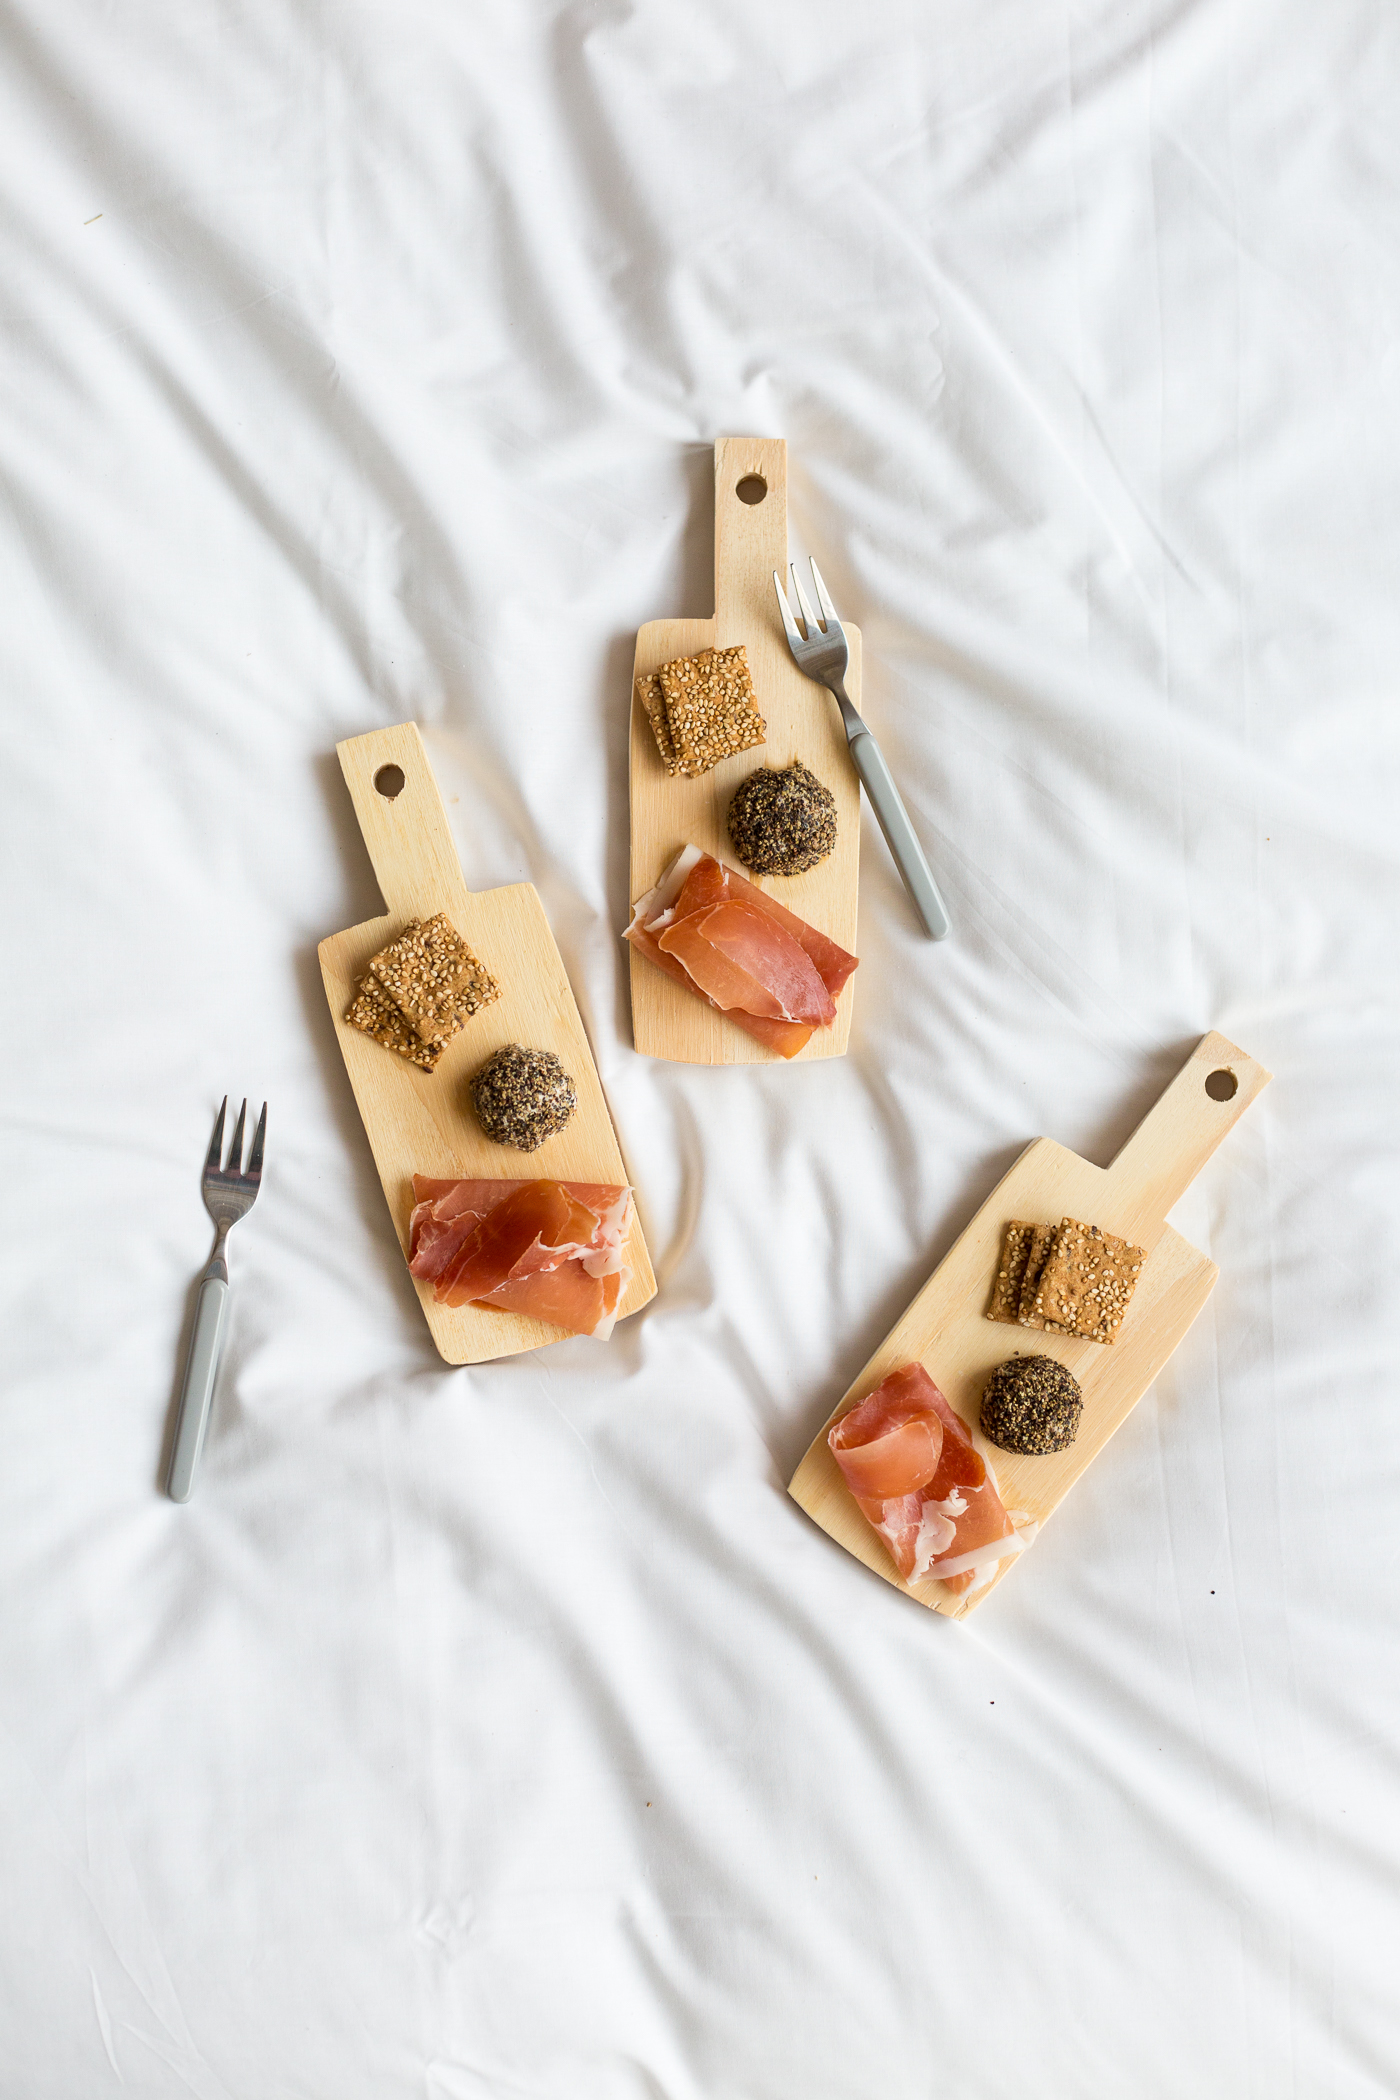
What goes with mini cheeses? Mini boards! (and mini crackers… are you seeing a theme here?) These are very easy to make if you have a jigsaw or bandsaw handy. It looks intimidating to use but they are quite easy once you get more confident. You’ll also need:
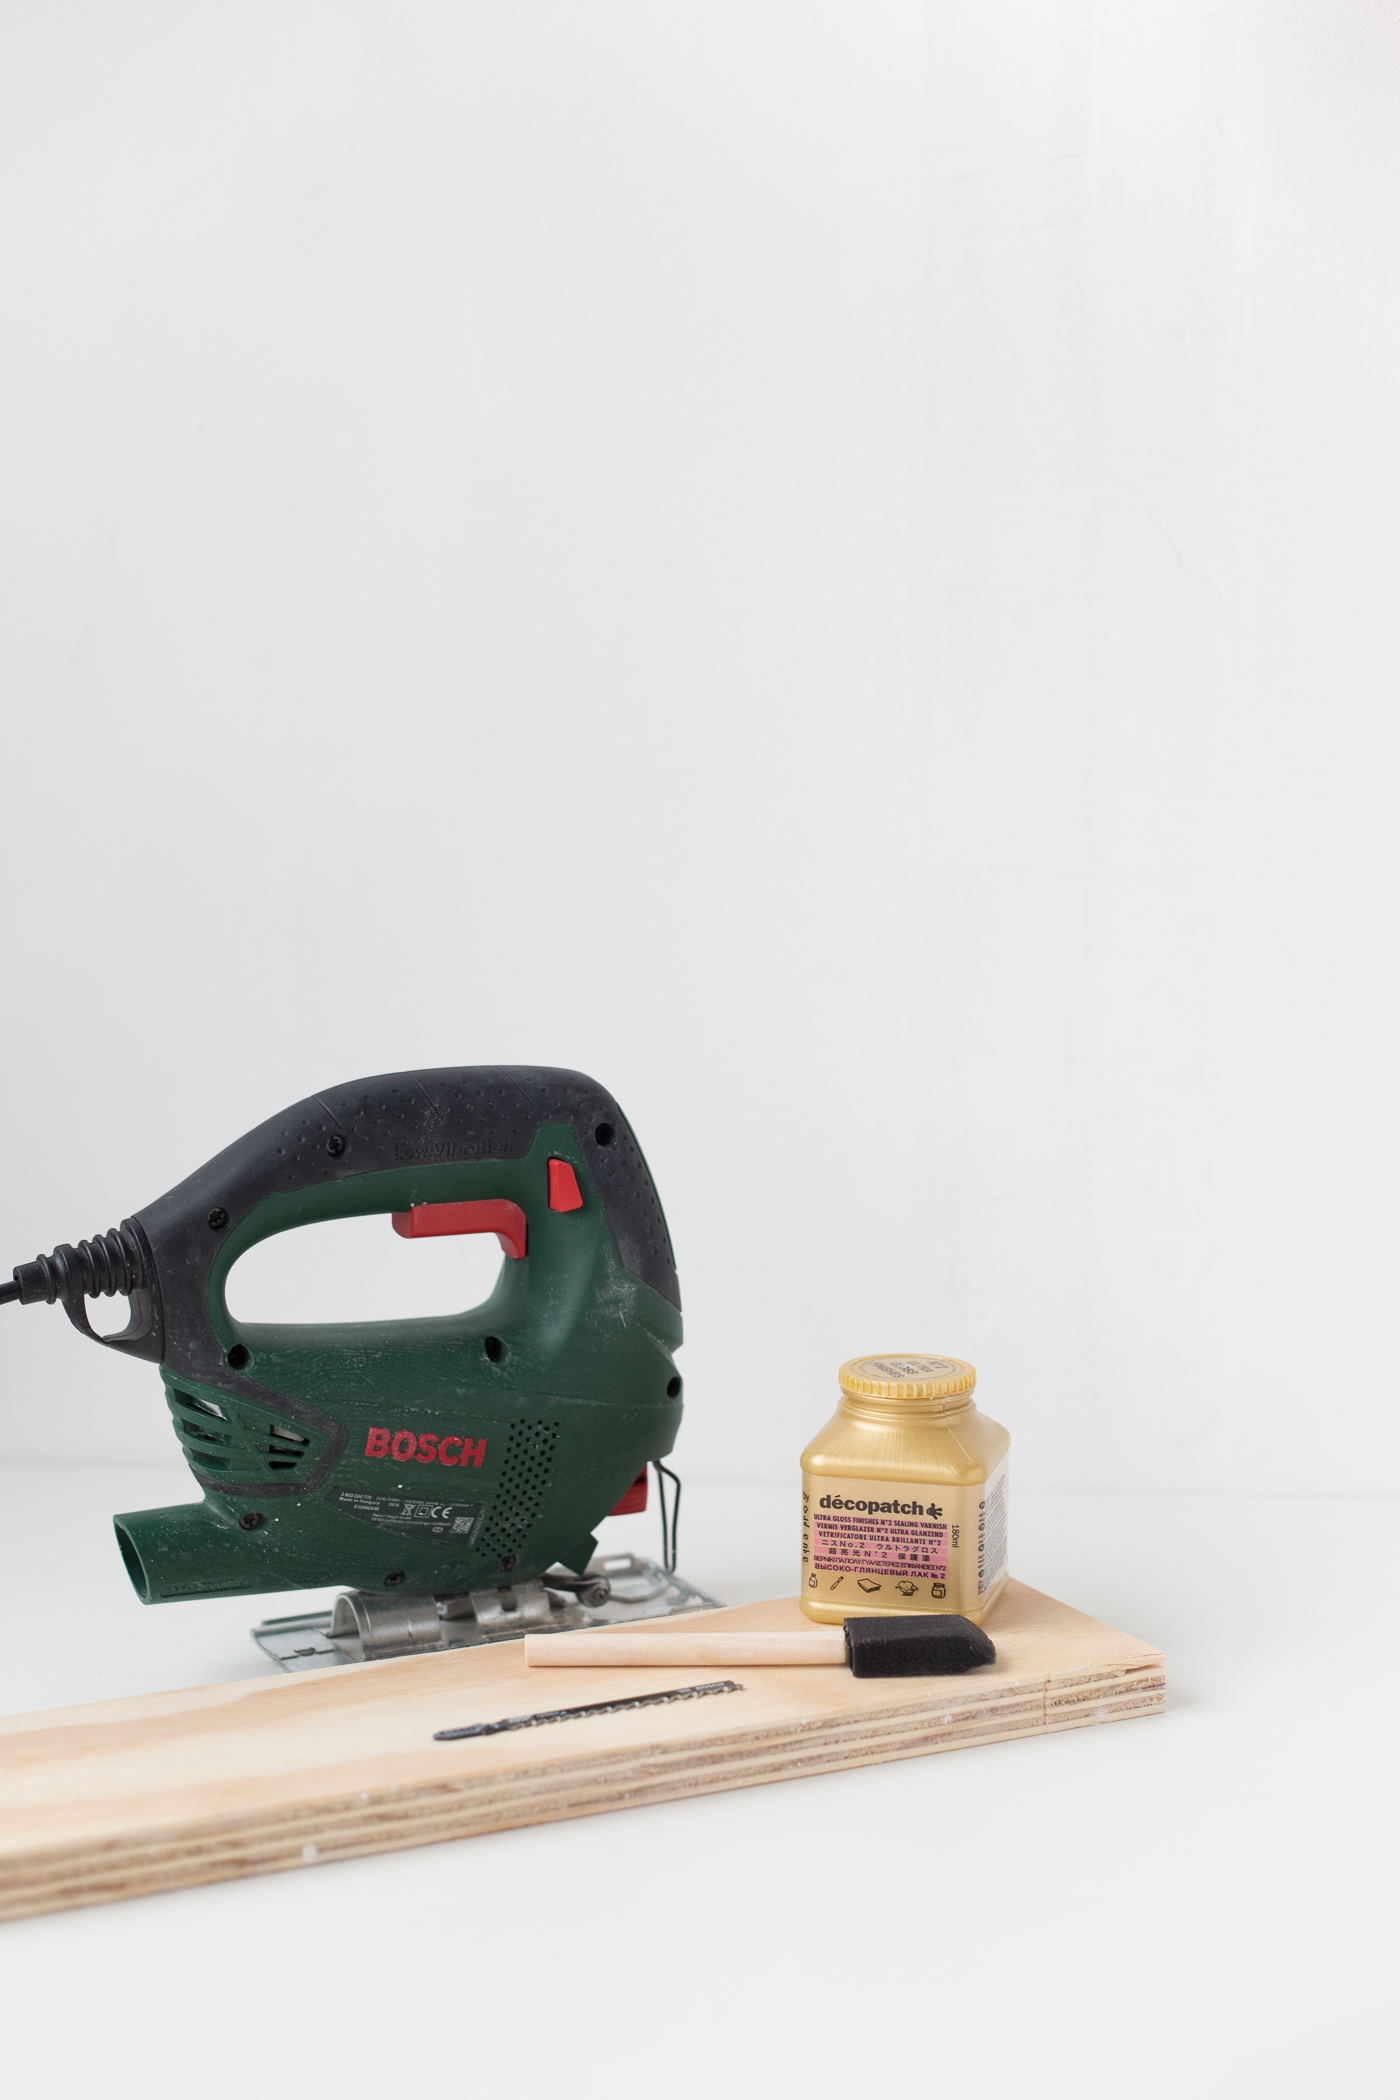
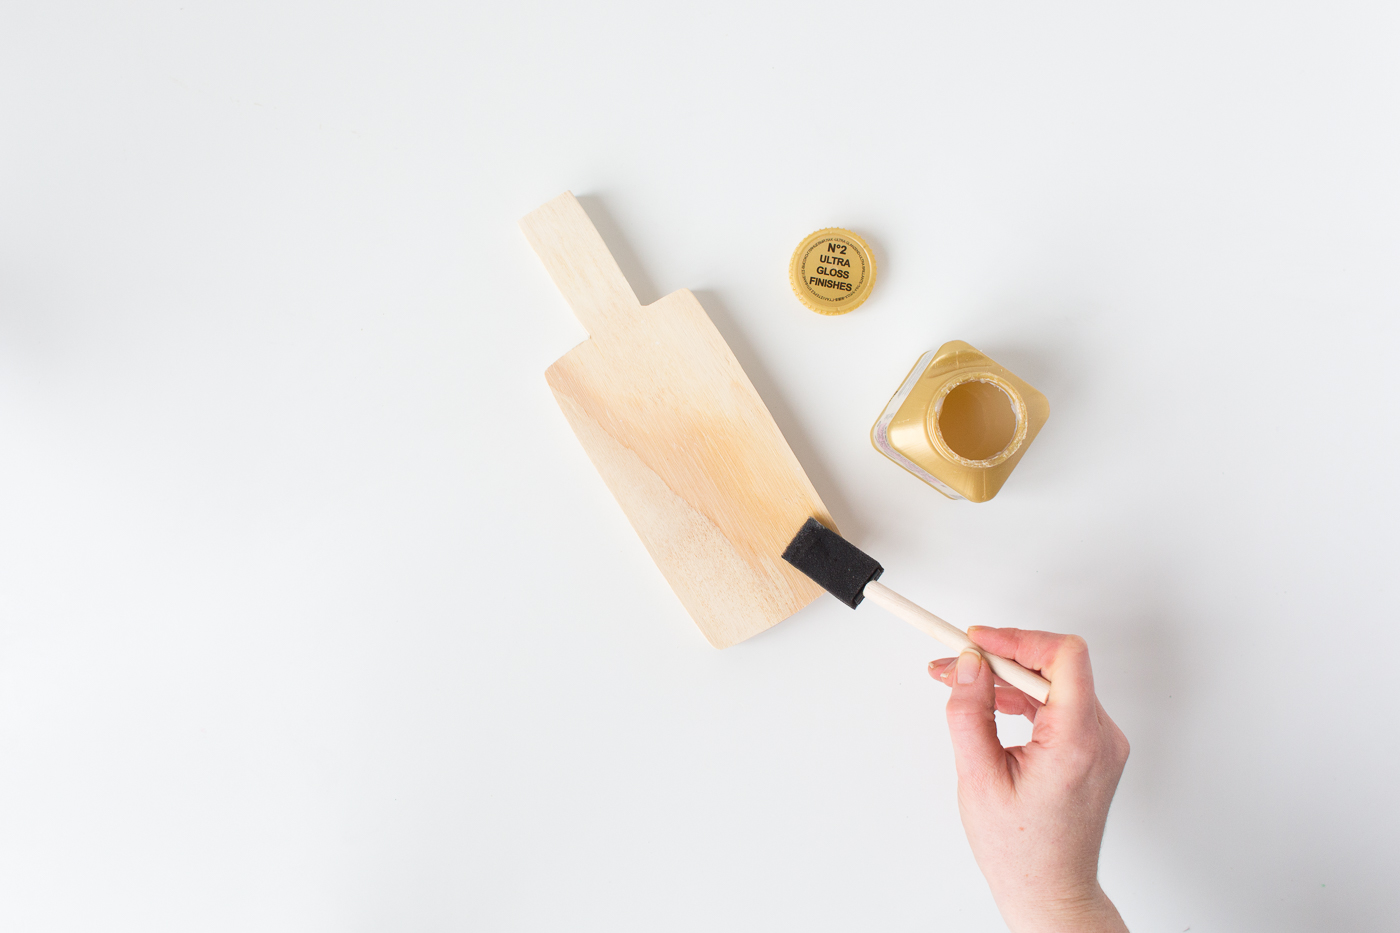
Plywood | Drill & 10mm drill bit (or similar size) | Decopatch food safe varnish | Sandpaper | Sponge brush
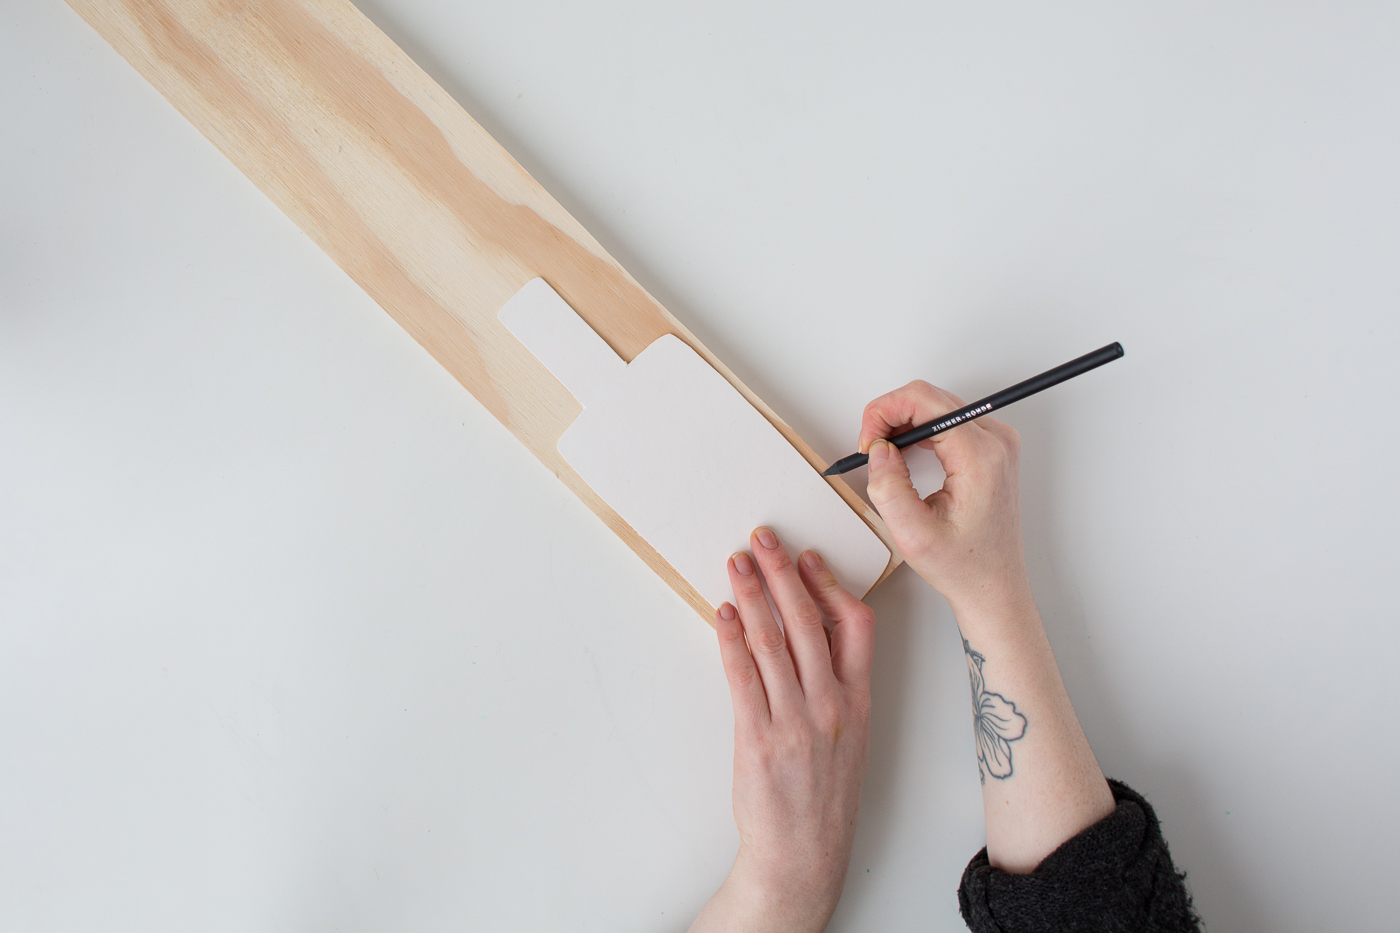
1. Make a template for your boards for cardboard. Cut it out and draw around onto the wood. Use the Jigsaw to cut around this outline. Try to stay as close to the lines as possible, but don’t worry if it’s not perfect.

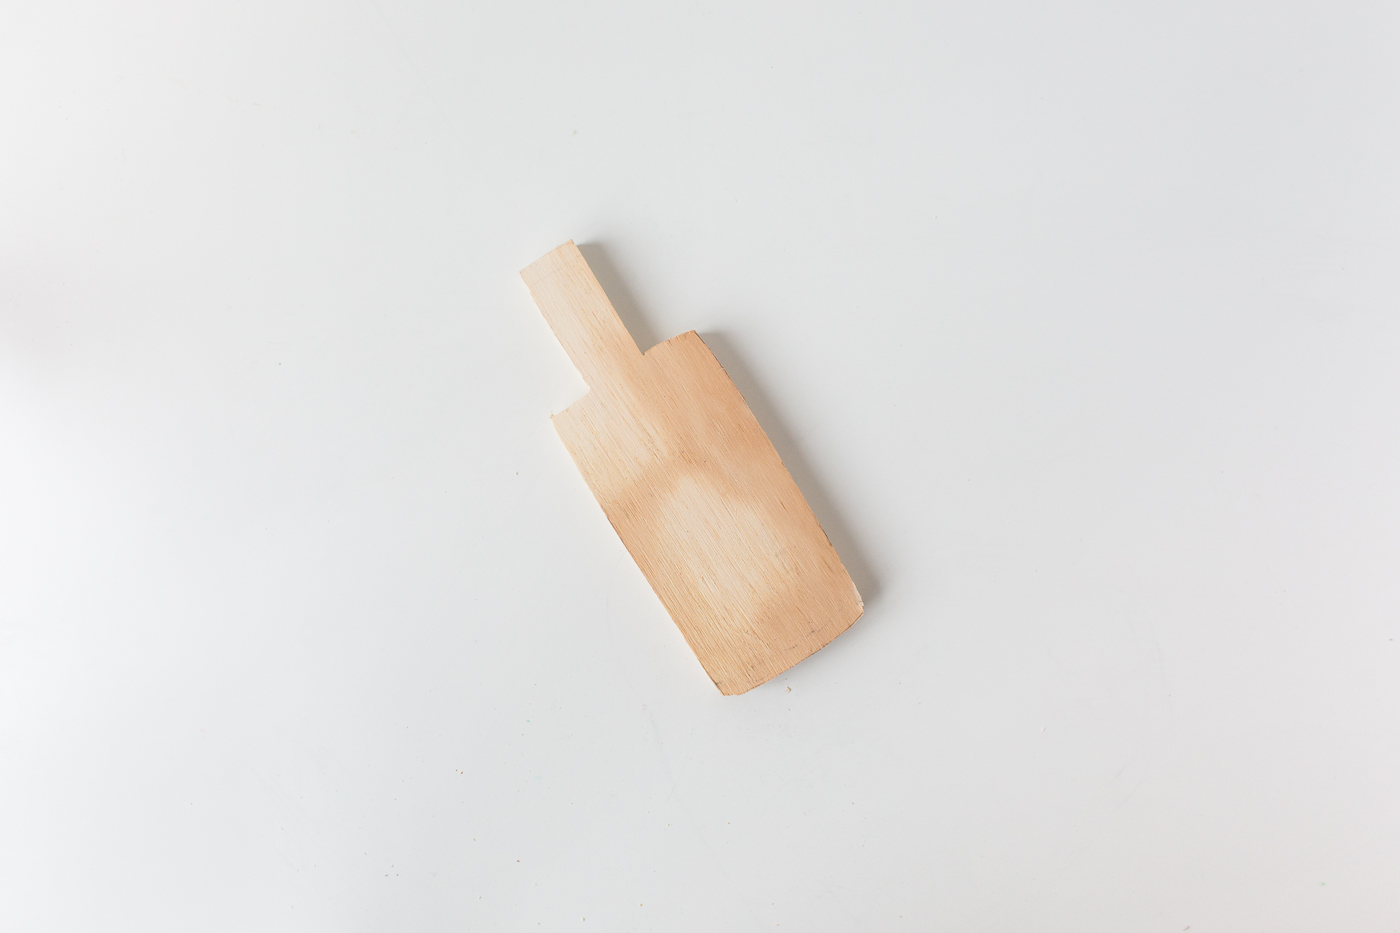
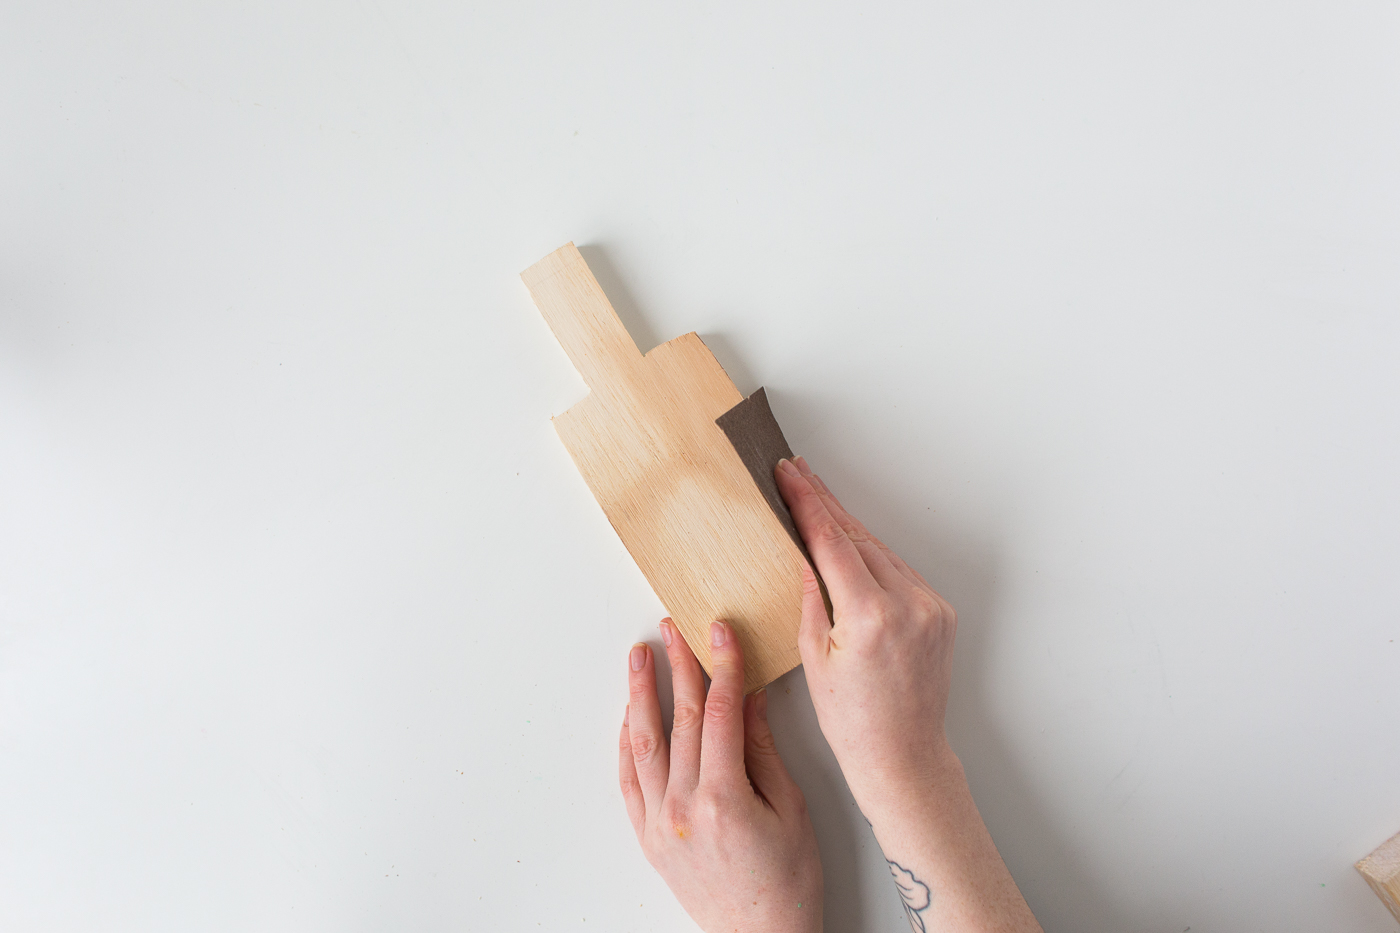
2. Sand all the sides and edges until completely smooth. Paint on 3-4 thin layers of the food safe varnish. Once all the layers are dry use the drill to make a hole in the handle. Tie natural cord through this hole.
Now that everyone has their own cheeseboard there should be no arguments over who gets the last piece of stilton… well, in theory.


I’m not sure if I’ll dare use a drill but I love the end result x
Jessica — NinetyCo
Oo, been looking for a good food safe varnish. Do you know if it works well with polymer clay?
Love this! Is this birch plywood? Are you able to share with us the template that you used? :)
Couples massage is often associated with relaxation. Therapists may use a variety of massage techniques, including deep tissue, Swedish, and hot stones. They will mainly focus on releasing tension in the neck, shoulders and back.Visit body spa near me
Are you looking for the best body to body massage services in Bangalore? Come visit our spa and we will make sure you leave with a smile on your face. Our masseuses are trained professionals who know how to give you exactly what you need.Visit spa near to me